Yuuuuum! I finally made a real cake this weekend and had a blast while doing so (and while eating it).
This new combination of lychee, hibiscus and a little vanilla transformed my fluffy and light cake into a juicy tropical flavor bomb.
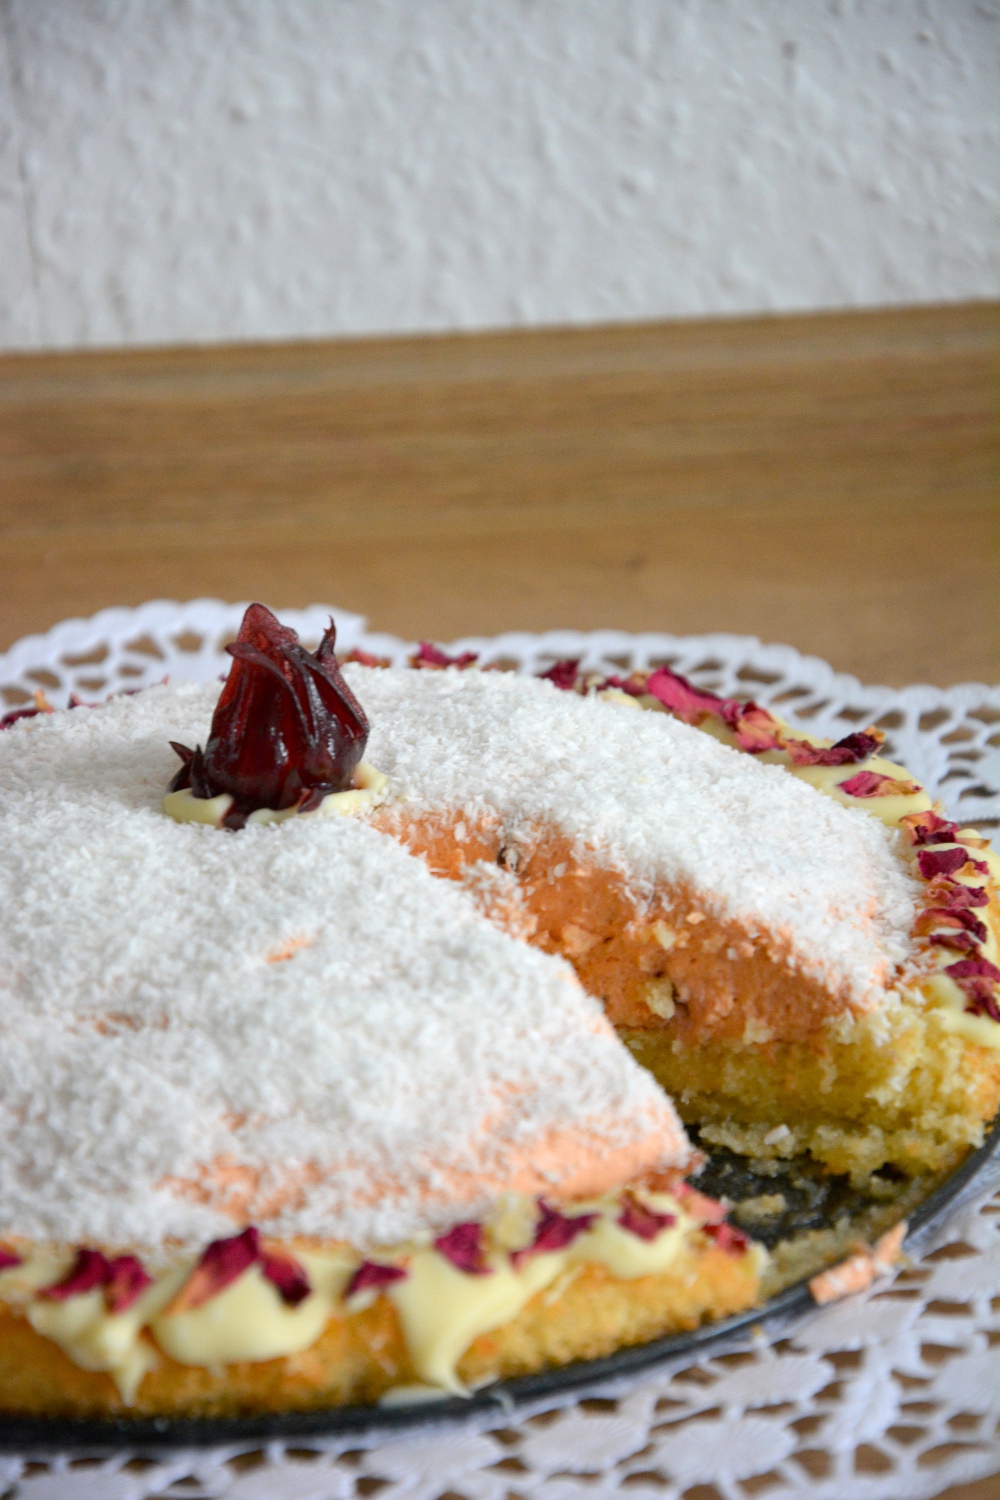
The basic is a fluffy sponge cake, soaked with the juice from the canned lychee.
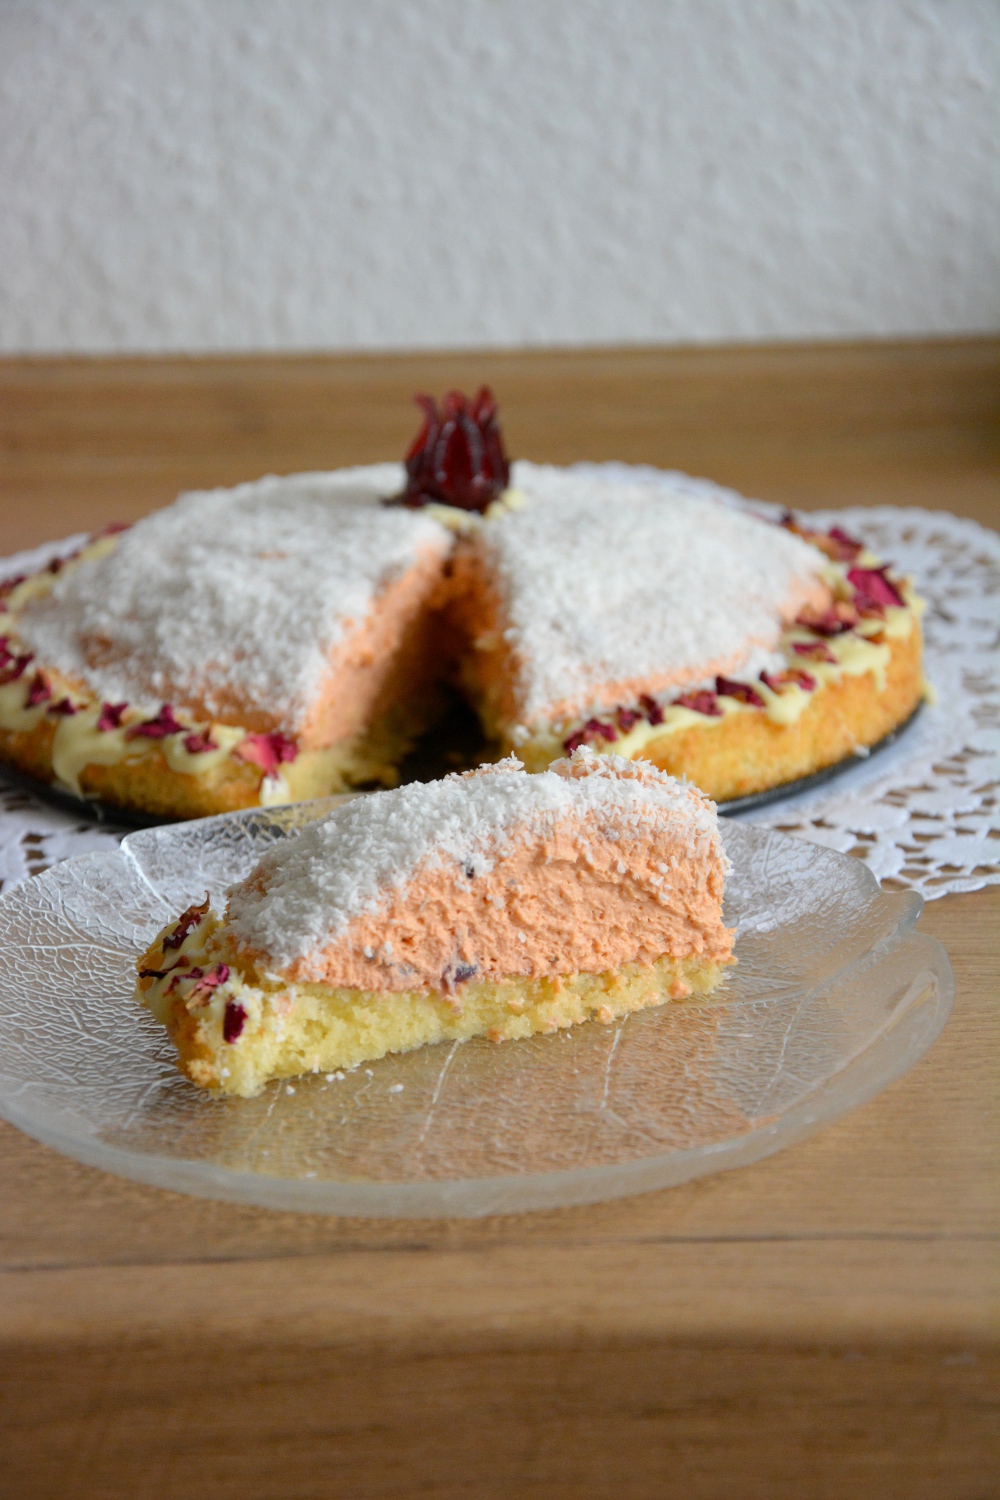
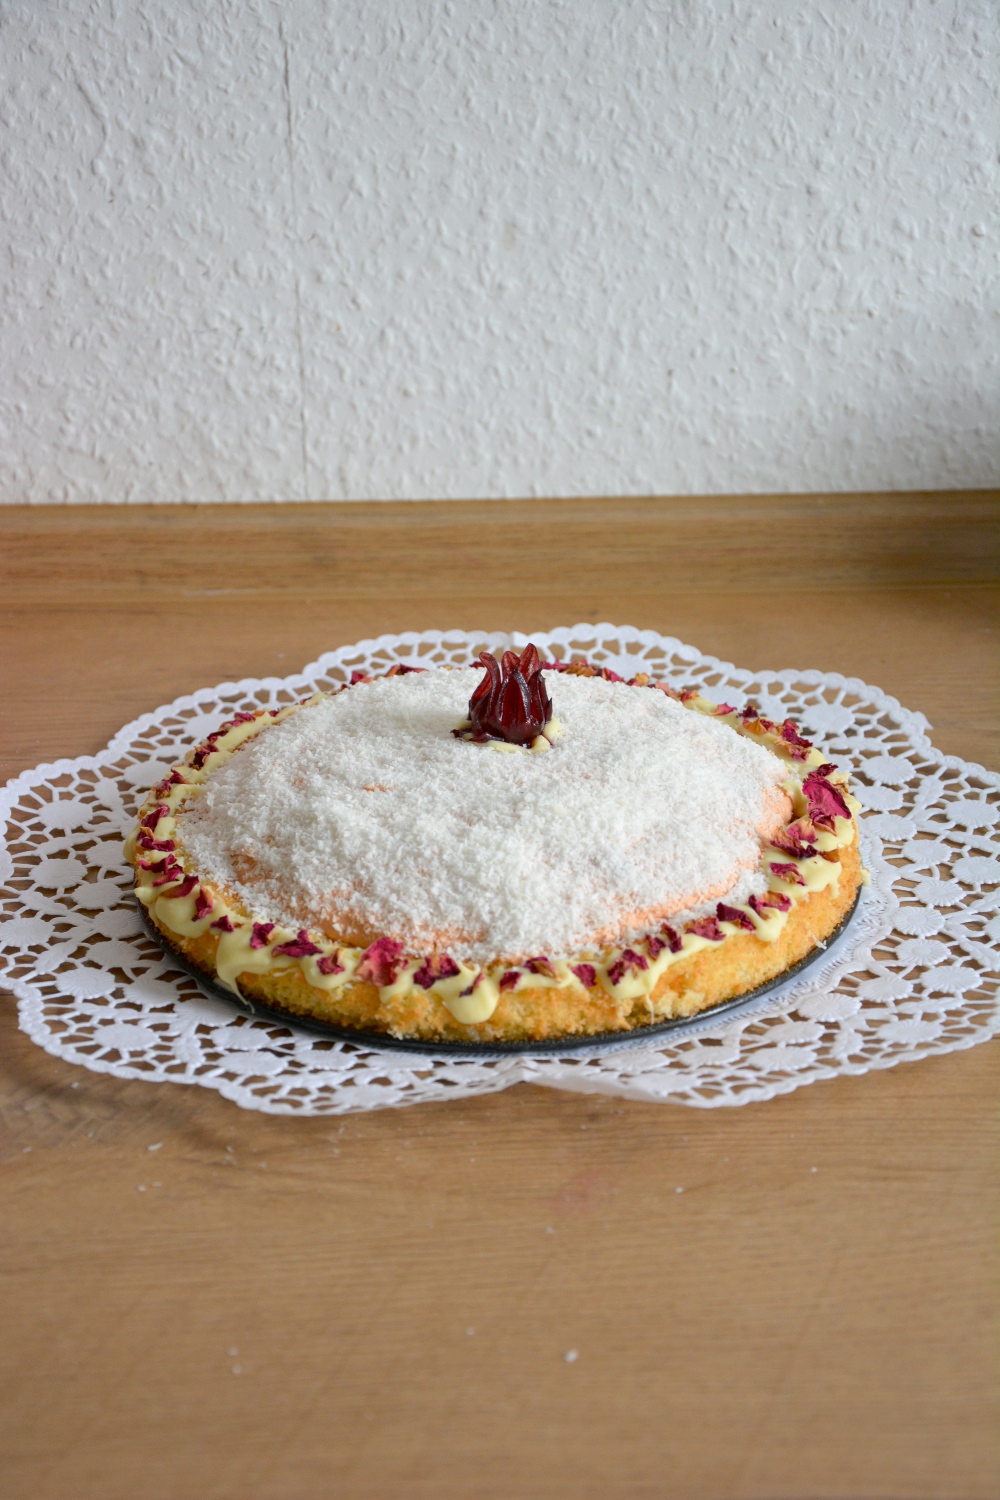
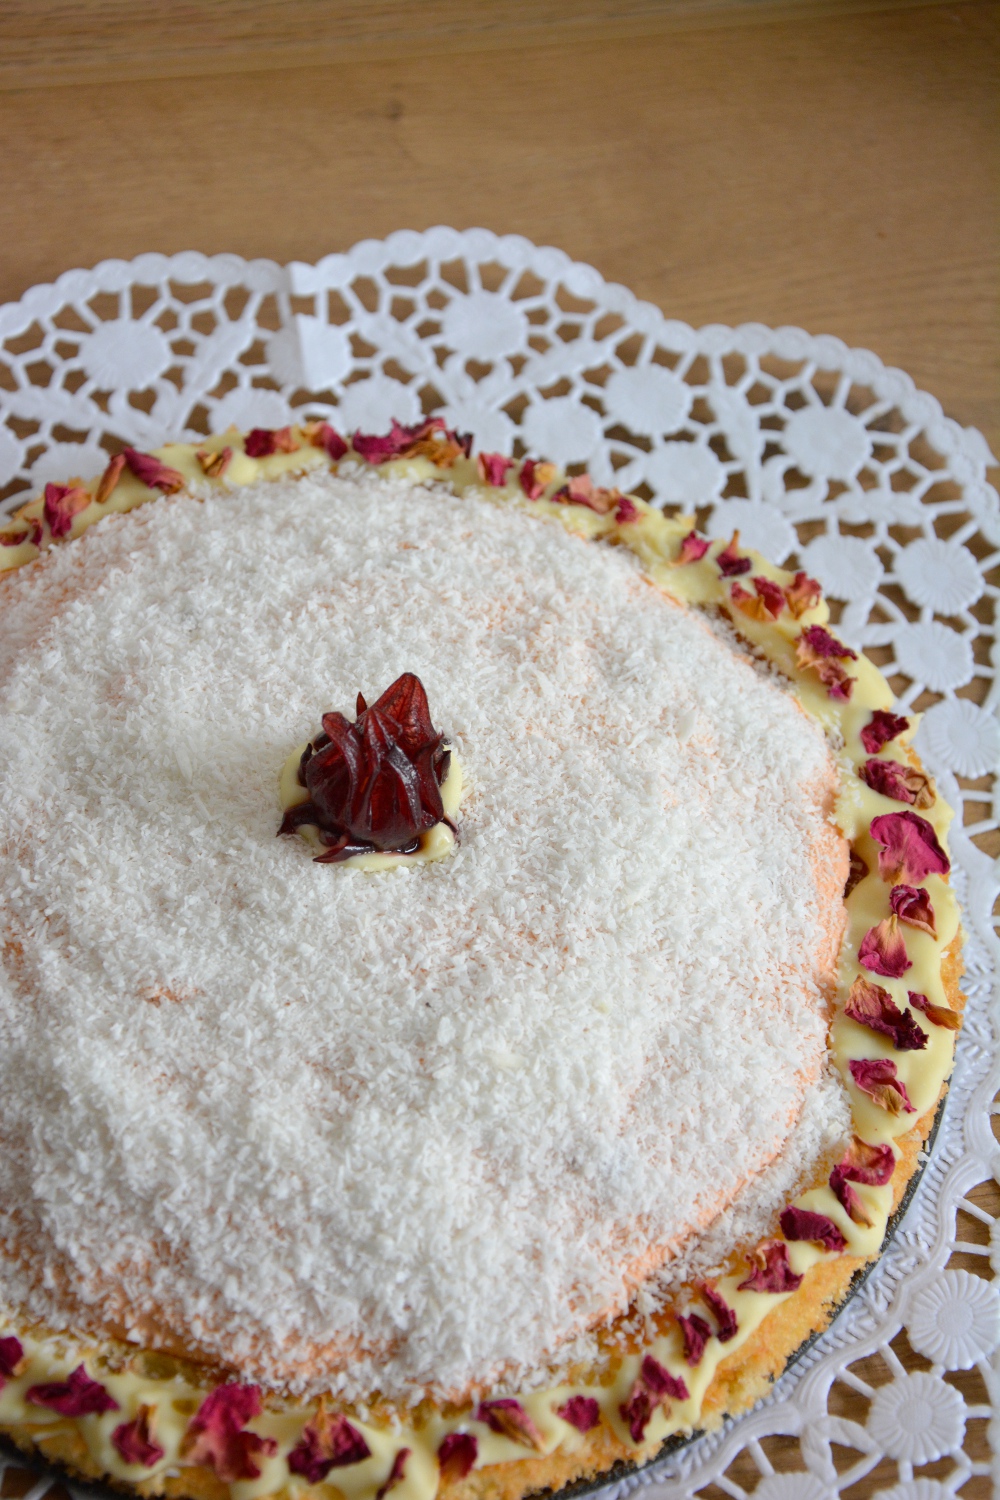
Aaaand on top of it, you form a dome of beaten heavy cream and curd with a spoon. It feels great to just dig in and have a spoonful of this cake. (It should not contain that much fat because of the skinny curd and the sponge cake. – Just sayin’.) I put a little orange food coloring into the cream to make the optical effect more intense and decorated the whole thing with coconut flakes, one hibiscus flower, white chocolate and rose petals. But this is not really nessecary.
Luchee Hibiscus Dome
sponge cake layer:
85 g (2/3 cup) flour
2 eggs
110 g (1/2 cup) sugar
1 1/2 tsp baking powder
1 tsp vanilla extract
cream layer:
250 ml (1 cup) heavy cream, beaten
1 pckt. instant yoghurt/curd powder vanilla
500 g (18 oz.) curd (0,2 % fat)
1 can lychee, drained
juice from 1 can lychee
4 hibiscus blossoms in sugar syrup
powdered sugar, to taste
Preheat the oven to 175°C (350°C).
Beat the eggs and sugar in a bowl with a mixer until the mixture is all light and fluffy, for about 90 to 120 seconds.
Stir in vanilla.
Mix baking powde and flour and sift the dry ingredients over the egg mass.
Stir again on medium speed until the flour is incorporated – do not overbeat.
Pour the dough into a slightly greased round pan with 26 cm (10´´) diameter. Bake for 12 – 15 minutes until a toothpicker comes out clean. Let the cake layer cool on the counter.
To prepare the cream, beat the heavy cream until stiff. Then add the vanilla powder (I used ‘Paradise cream’) and stir. The cream will become thicker, but that is exactly what you need to get a steady dome.
Purée the drained lychee fruit and stir it in the cream, add the curd. Chop the hibiscus blossoms and stir them in. You can add some orange food colouring to for an optical effect.
Stab a couple of wholes into the sponge layer by using a fork. Soak it with most of the lychee juice from the can. Now place the cream on top of the cake. You get a kind of dome by putting one heaped tbsp in the center after the other. Decorate and let set in the fridge for about 2-3 hours
It is crazy how time flies. In my last year at school, my life looks like this: school, sleep, work, sleep, school, sleep, learn, sleep… And before you can get prepared for it, it is already december. I am so tired of this amount of things I must do. And very sorry for missing the posting days. But still, I have some great soul food for you right here.
Bananas and chocolate are known for their ability to make people happy, especially in combination.
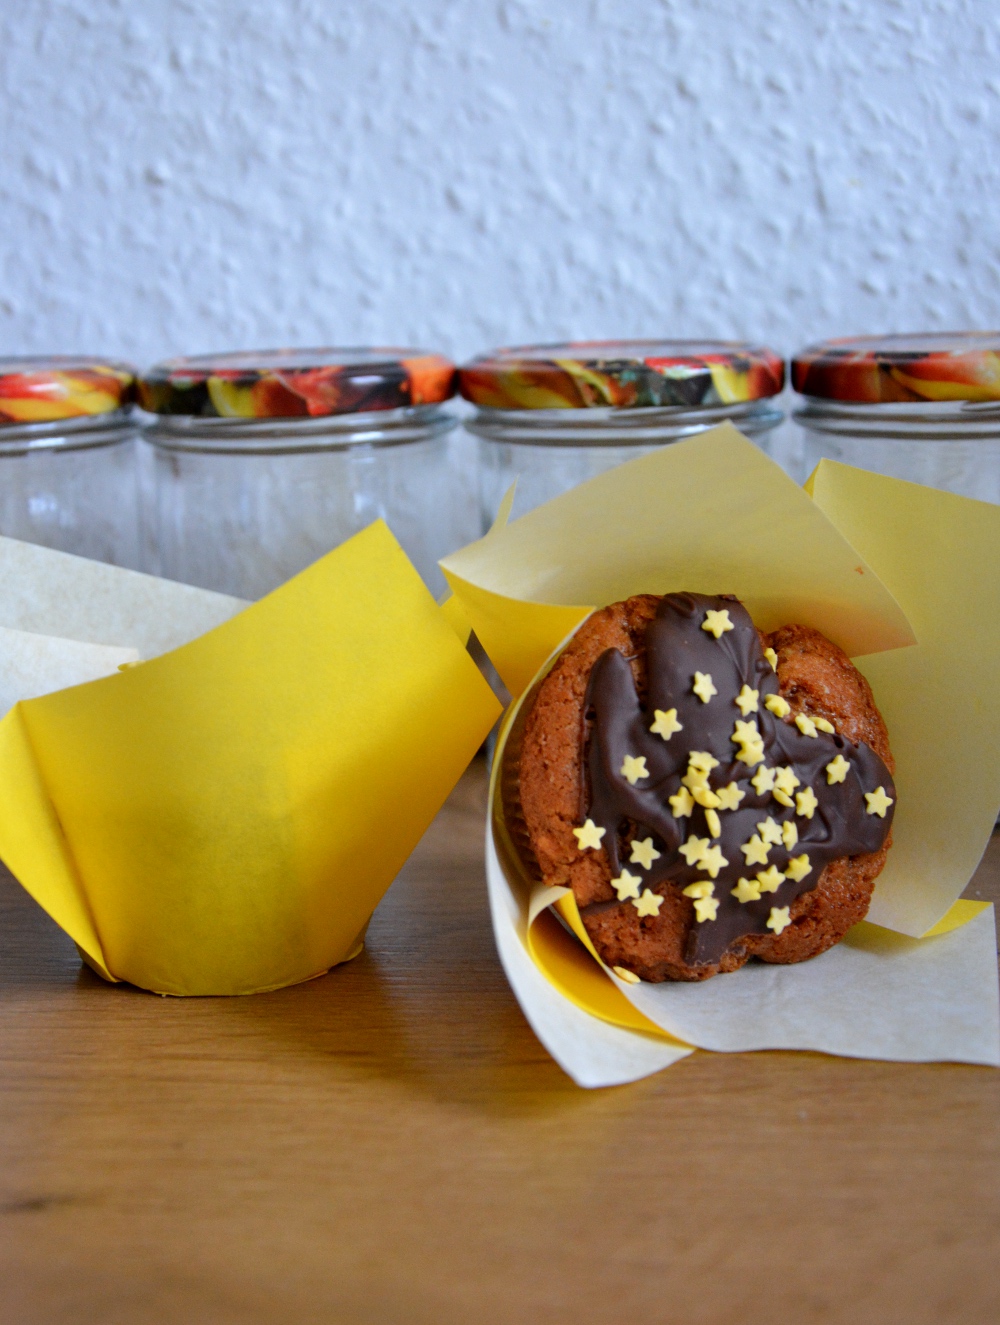
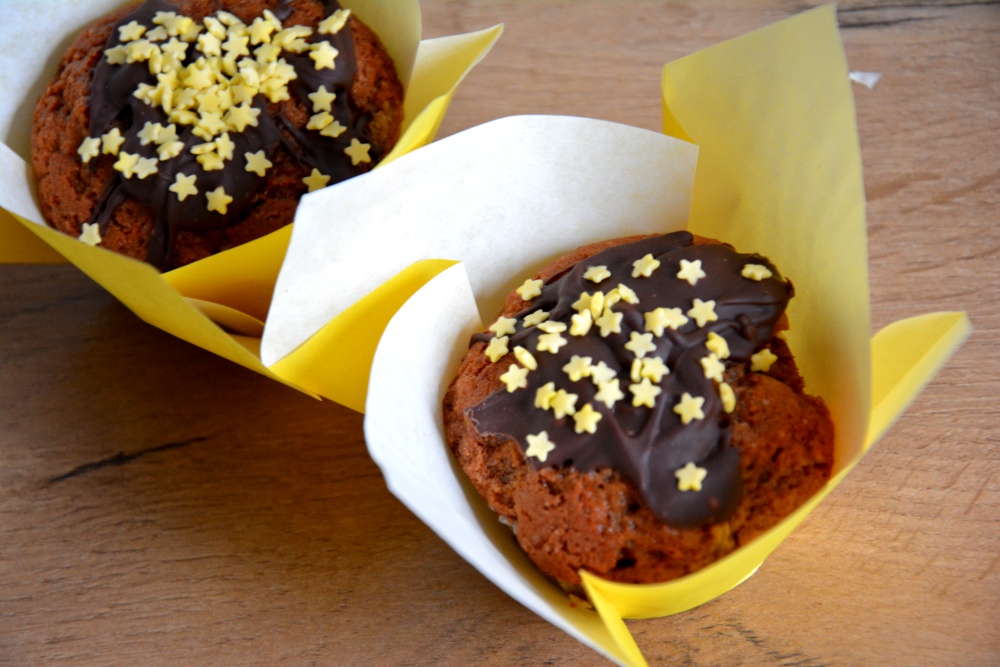
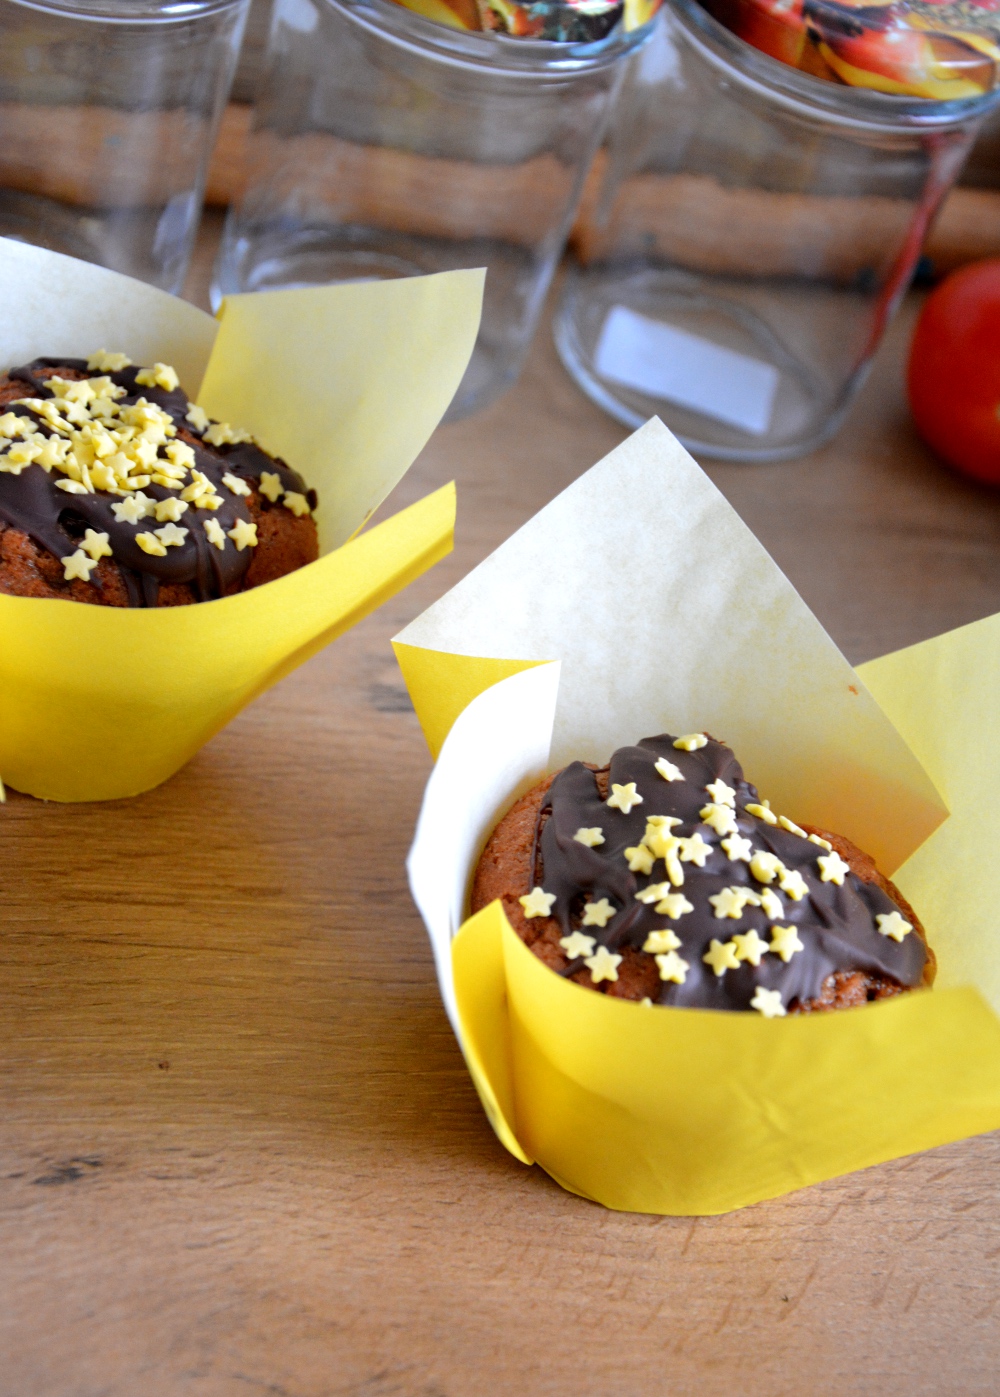
I found this recipe about 2 years ago and loved it ever since. It is from a German Chefkoch user, which explains why it contains quite a lot baking powder and few sugar. But trust me, you won’t miss any sweetness (especially if you put a chocolate glaze on top). I threw in some nutella and baked the originally one-dish recipe in muffin molds, which made exactly 12 cute buddies.
They make a perfect snack if you have lots to learn, as they strenghten both your nerves and your concentration.
Banana Choc Muffins
125 g butter or margarine
130 g sugar
1 tsp. vanilla extract
1 pinch of salt
2 eggs
200 g flour
1 pck. instand vanilla pudding powder
4 tsp. baking powder
1 tbsp. milk
3 tbsp ground hazelnuts
2 ripe bananas, cut into small cubes
2 tbsp nutella
100 g semi-sweet chocolate
Preteat the oven to 175°C (350°F). Line a muffin pan with paper molds.
Stir together the butter, sugar, vanilla, salt, eggs, flour, pudding powder, nutella and baking powder until the mass is smooth.
Stir in the nuts, milk and banana with a spoon.
Fill the muffin molds up to 3/4 and bake for about 30 minutes or until a toothpicker comes out clean. Let them babies cool.
Melt the chocolate in the microwave or over a water bath and pour over the muffins.
Serve and enjoy.
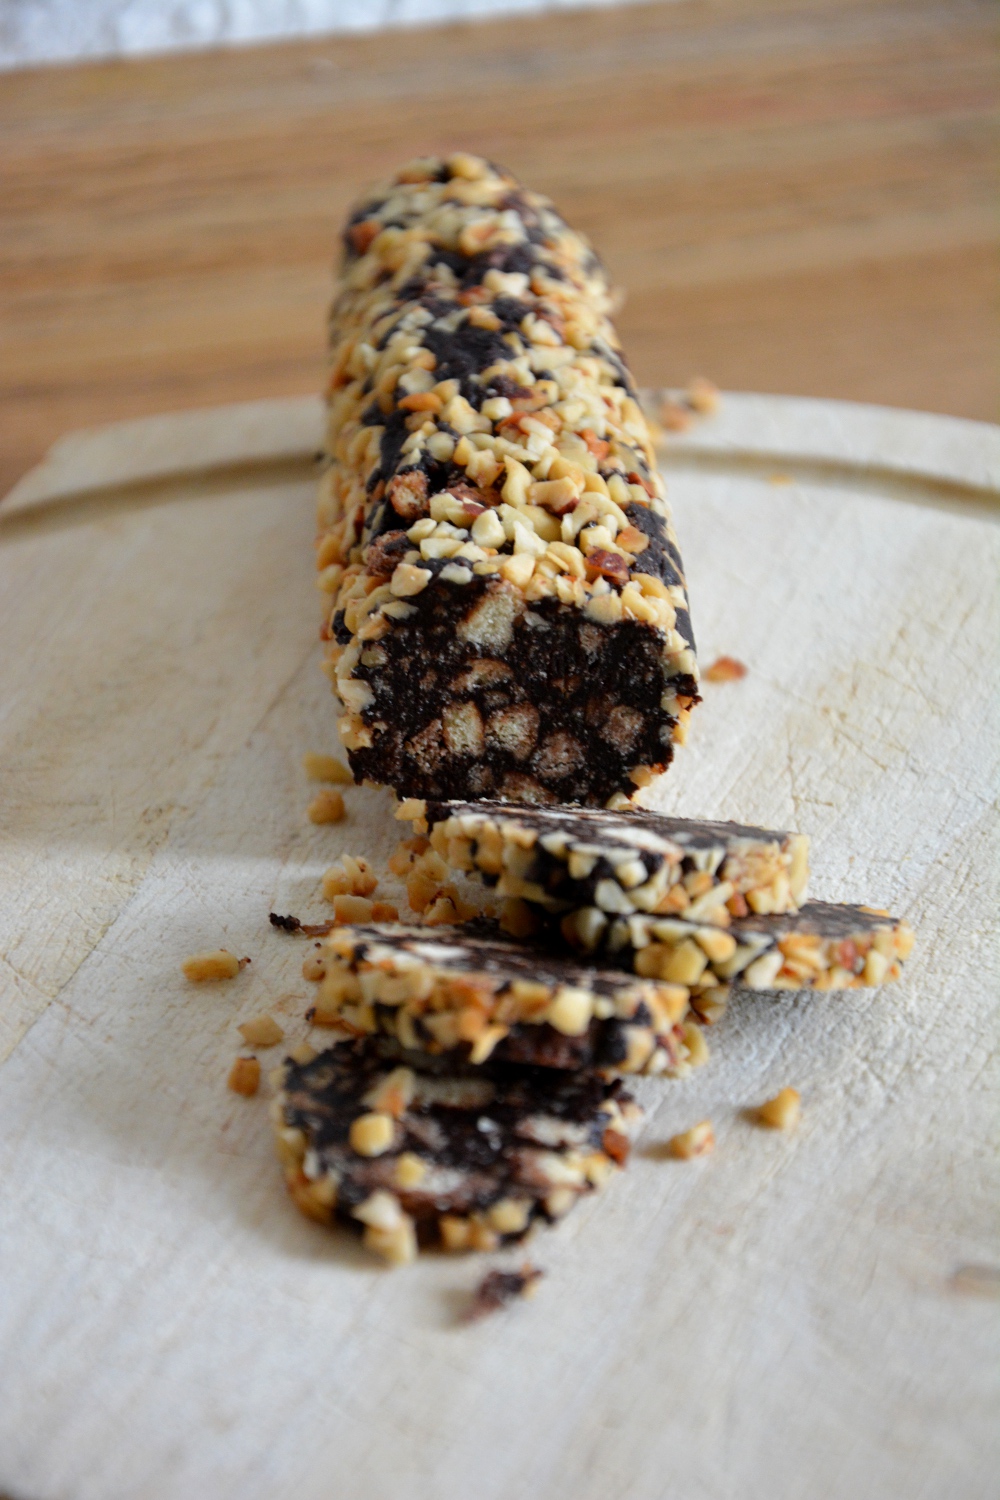
So glad I can present to you a recipe that used to make my face lighten up when I was a child. My Mum used to make it every now and then and I was always amazed by how a sticky brown mass looking like nothing turned into a sweet bar of chocolate that looked like meat. Today I do not eat meat any more, but I feel like I am thrown back into my childhood when seeing (and eating) it.
I was very excited, when an Italian friend of mine told me they use to make this treat in Italy. I asked for the recipe, because my Mum never taught me how to prepare a chocolate salame. So here we go.
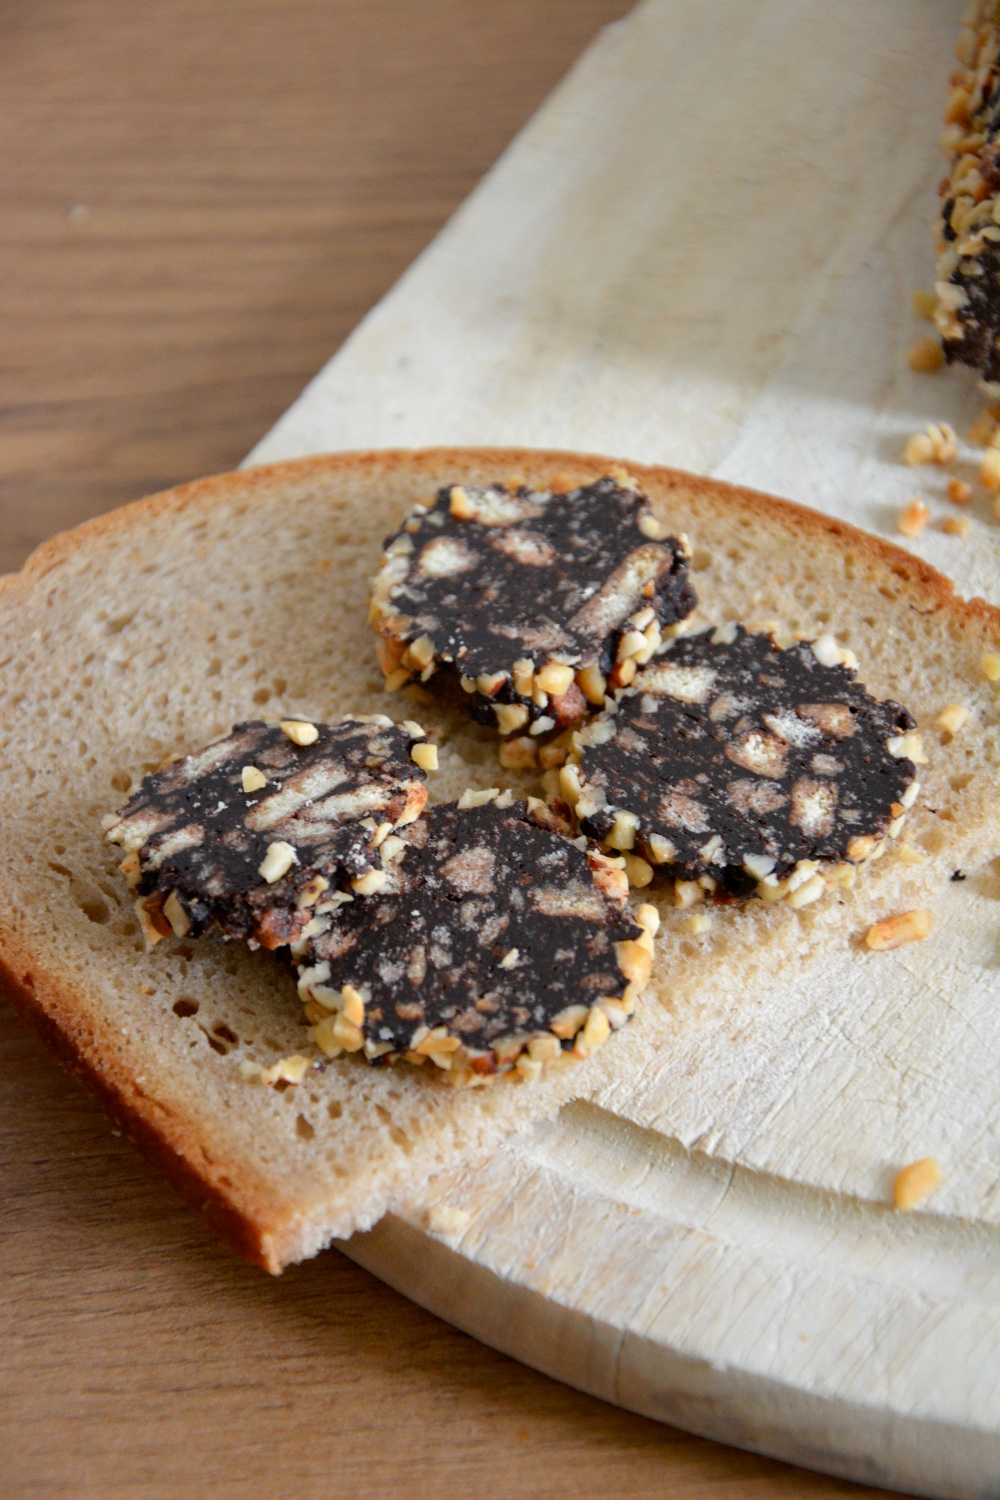
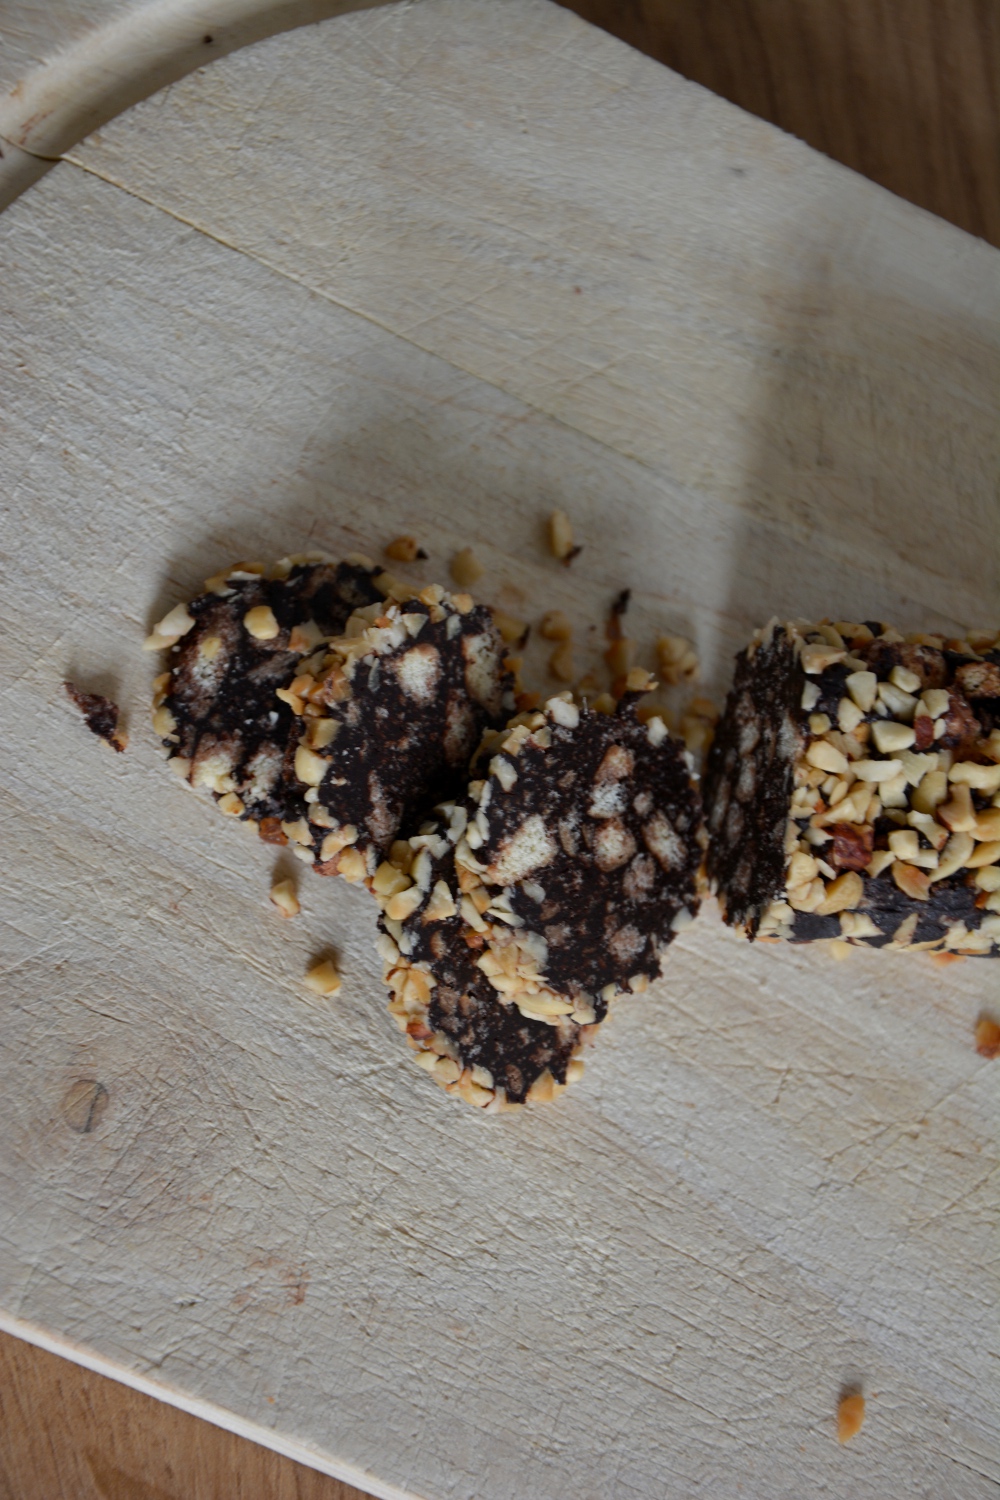
It is quite easy to prepare and the result looks realistic with no afford. You just have to let the fridge do the work. I used half of the original recipe and got out two sausages with the length of about 25 cm (10´´). As I assume this is quite much, still, I will let you know the instructions for this amount of it.
Chocolate Salame:
100 g butter
125 g shortbread cookies
100 g sugar
50 g dark cocoa powder
1 egg
1 pinch cinnamon
Crumble the cookies by smashing them with a rolling pin in a freezer bag.
Melt the butter in a medium-sized pan over low heat. Stir in sugar, cocoa powder and egg. Then put in all the cookies and mix well with a spoon.
Lay out a piece of aluminium foil and pour half of the chocolate mass in a line on it. Roll in the foil and shape it with your hands until it looks like – well – a salame. If you want to, you can put sprinkles or chopped nuts on the surface, so it does not stick to the foil. Otherwise dust it with some powdered sugar. Wrap the salame up in aluminium foil and let it chill in the fridge for at least two hours.
Then cut it into slices like a sausage ;)