I must admit that I like sponge cake. I don’t need that heap of greasy frosting covering it, just the experience of a perfectly soft and cloud-like cake.
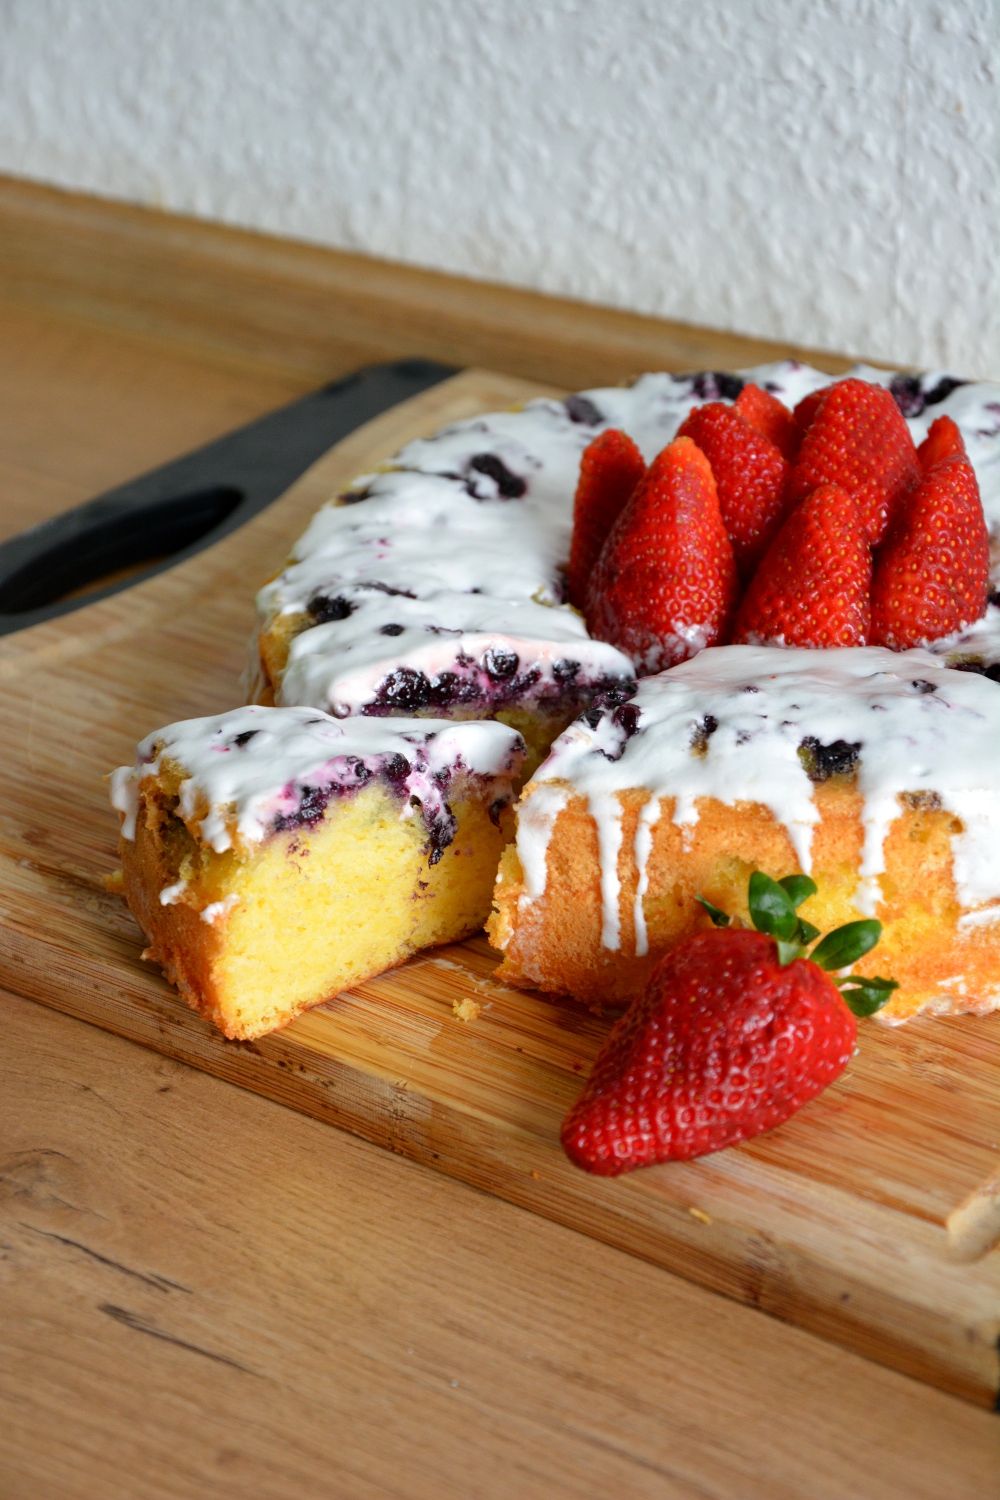
Sponge cake is actually pretty low-fat and therefore a nice treat for summer. To make this beauty here a bit fresher, I added lemon zest and lemon juice to the dough to infuse it. Furthermore, I threw in some blueberries which made the cake moist. As A round-up, there is a thin sugar glaze made with lemon juice instead of water on top.
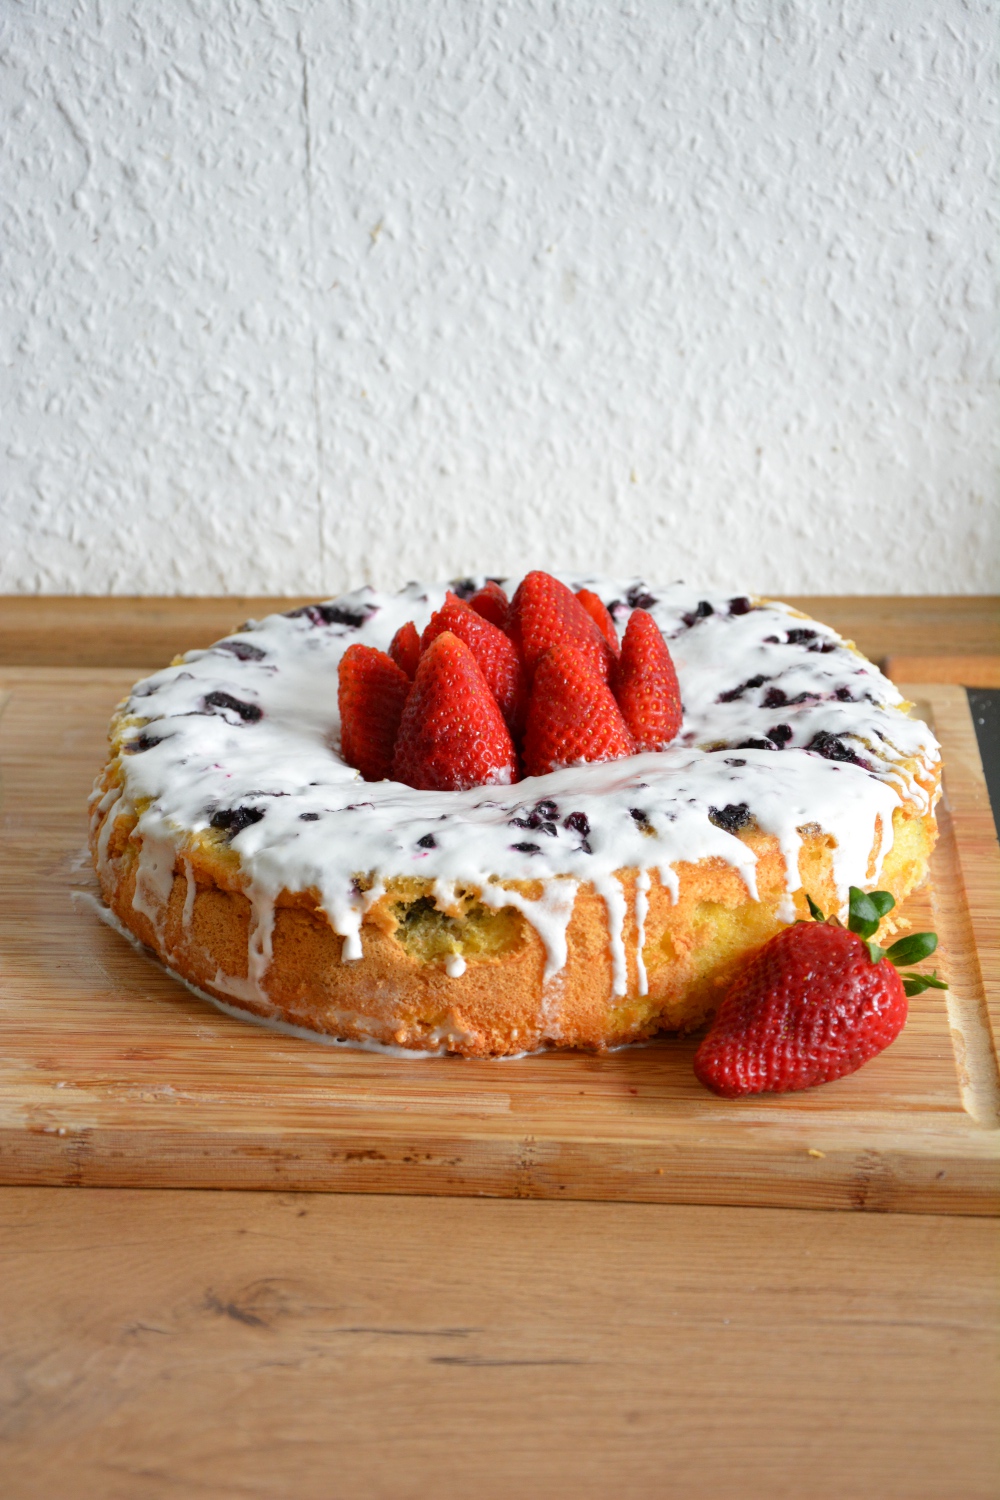
Want to have a bite? Get in the kitchen and prepare this goodnes using the following easy recipe.
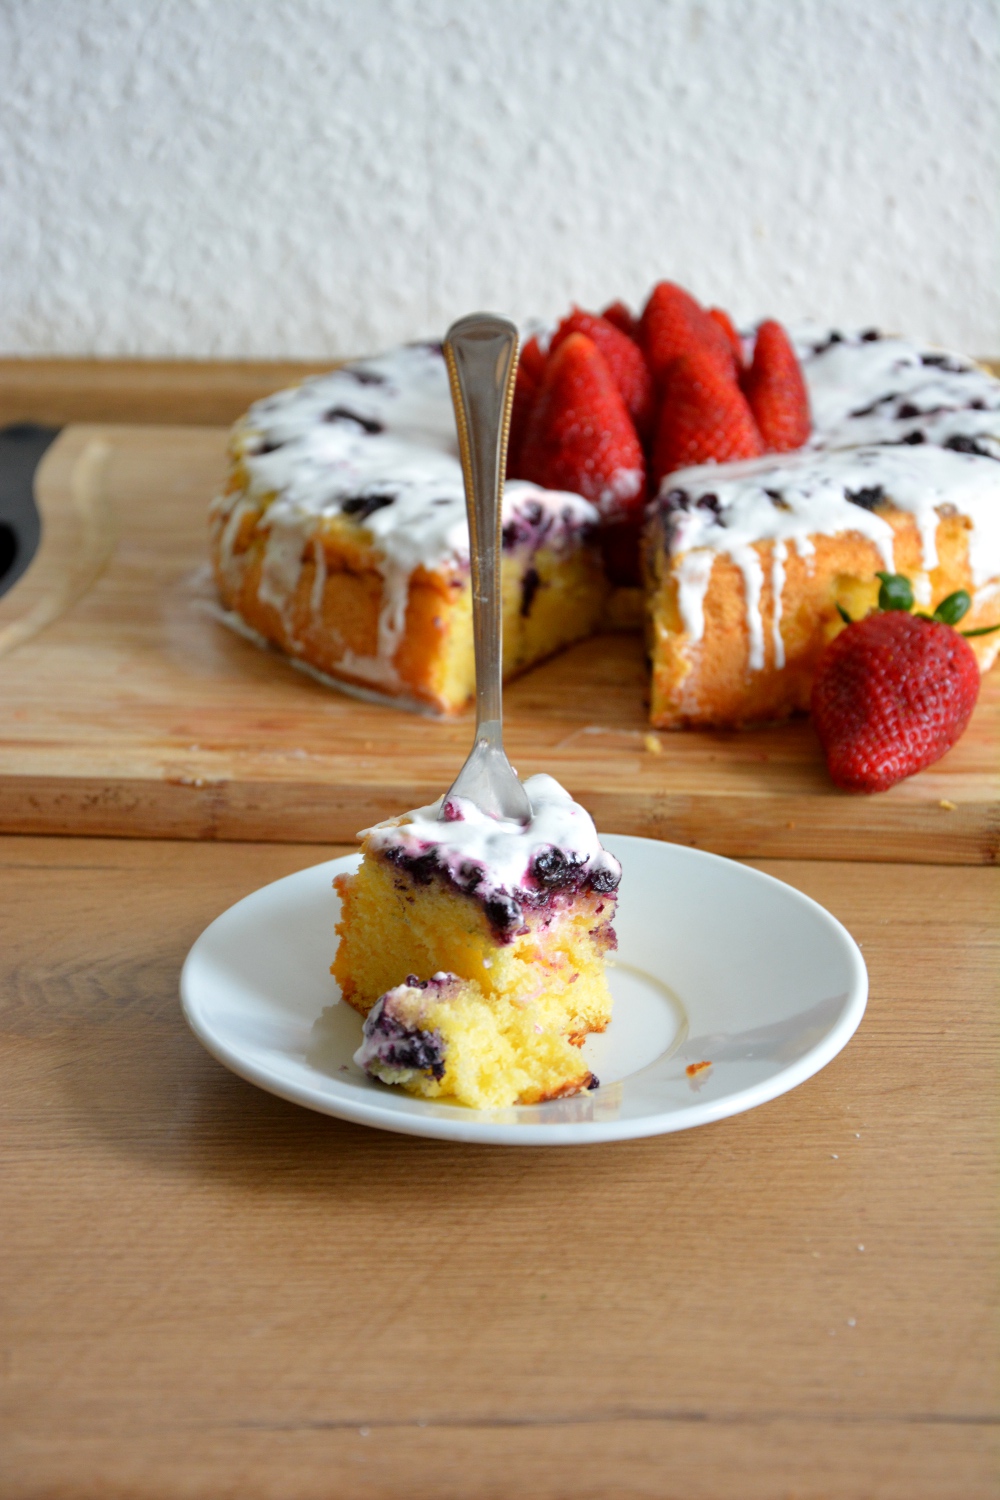
Lemon And Blueberry Cloud Cake
Dough:
6 eggs
120 g (1 cup) flour
60 g (1/2 cup) cornstarch
1 tbsp vanilla extract
1 pckt (3 tsp) baking powder
fiely grated zest of 2 lemons
juice of 1 lemon
140 g (1 cup) blueberries
Glaze:
1 egg white
1 cup powdered sugar
juice of 1 lemon
Preheat the oven to 180°C (350°F).
Beat the eggs and sugar in a large bowl for about 3 minutes on high speed, until the mixture turns very light and fluffy. Add the vanilla.
Mix flour, cornstarch and baking powder in a bowl. Sift these ingredients over the eggs and sugar and stir them in quickly. At the end, put in lemon juice and zest. Stir to spread them evenly.
Oil and slightly flour a pan of about 26 cm diameter (10´´). Pour the slightly sticky dough into it and spread the blueberries evenly into the dough.
Bake for about 10 minutes, then put a piece of parchment paper on top. Bake for about 25 more minutes or until a toothpicker comes out clean. Let the cake cool before glazing it.
Beat one egg white with a mixer until stiff. Now sift in the powdered sugar while incorporating it in between. Thin down the mixture with lemon juice, until it is easy to pour over the cake. Glaze the cake and decorate.
Bon appetit!
I’m not dead.
I’m not dead, but my eating habits sort of are. You know, I’m having a tough time right now, not eating regularly, because I am a slave of my stupid eating-disordered brain.
I had this diet week in February which was Detox, and somehow it made my body gain weight, although I ate less than what the diet plan told me and from that point on I have gained and lost weight and definitely lost my mind on food. But I still love baking – combining flavours, mixing ingredients together and decorating sweets makes me really really happy. But you must excuse that I cannot bake so often – I kind of lost my appetite – craving food is something uncommon for me these days.
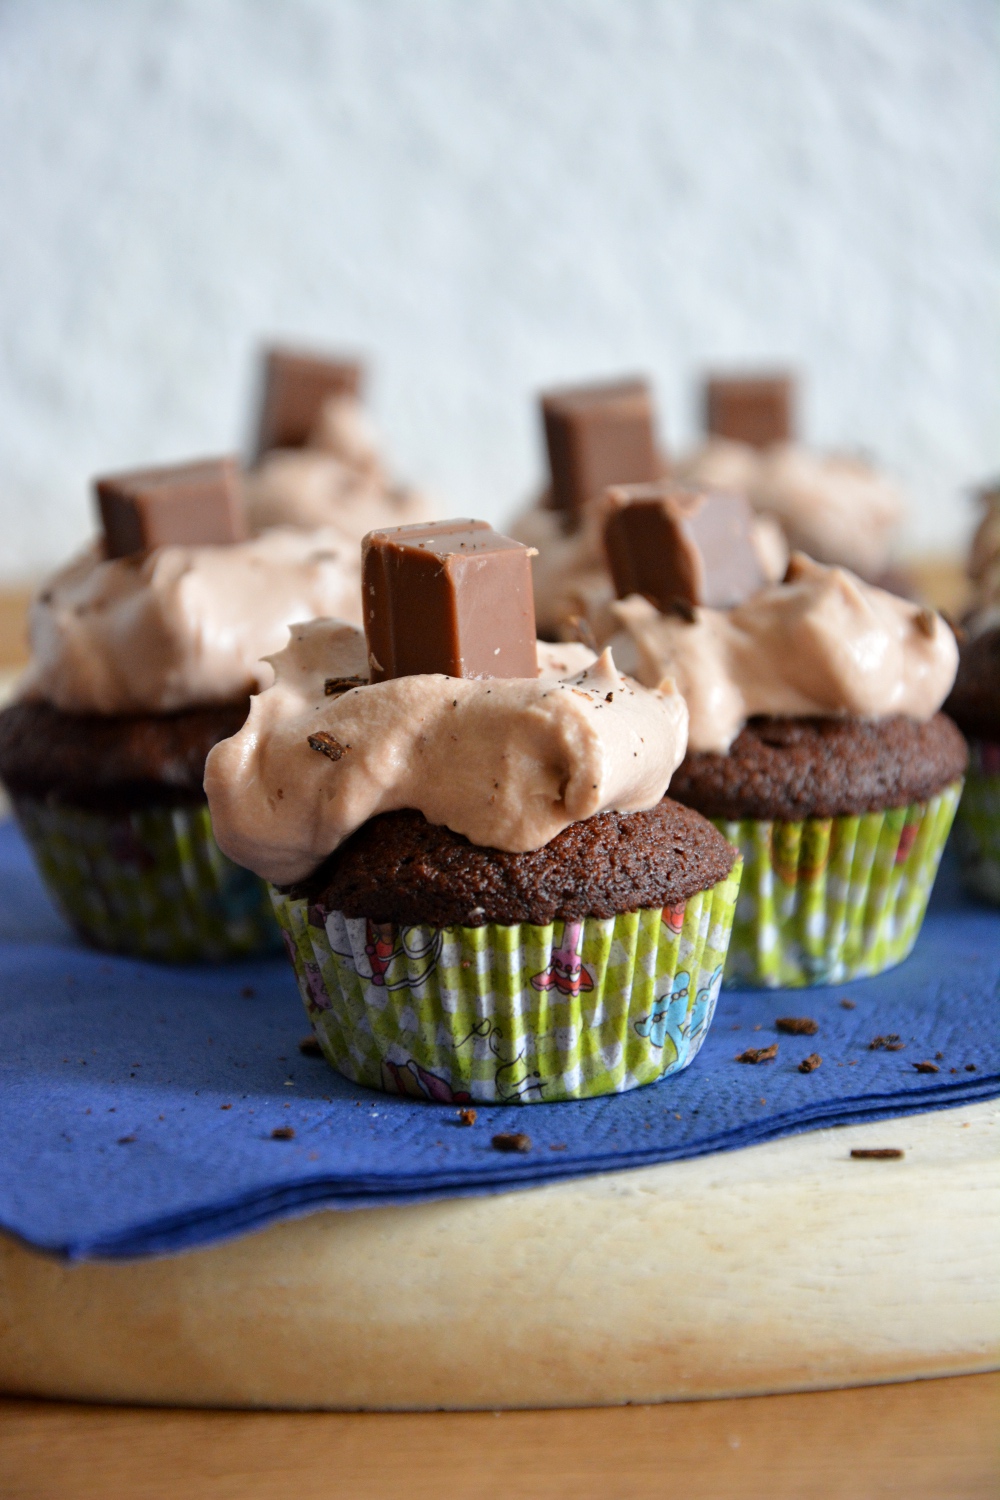
Still, I bake for special occasions and I enjoy every second of it, for example these cute mini cupcakes I made to garnish a friend’s present with some sweet delight.
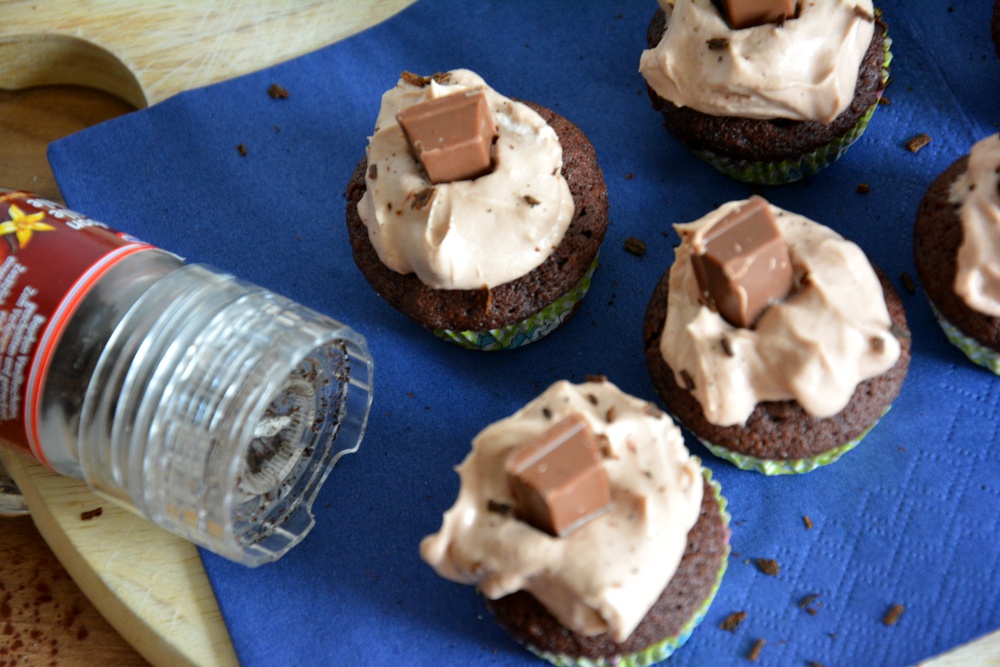
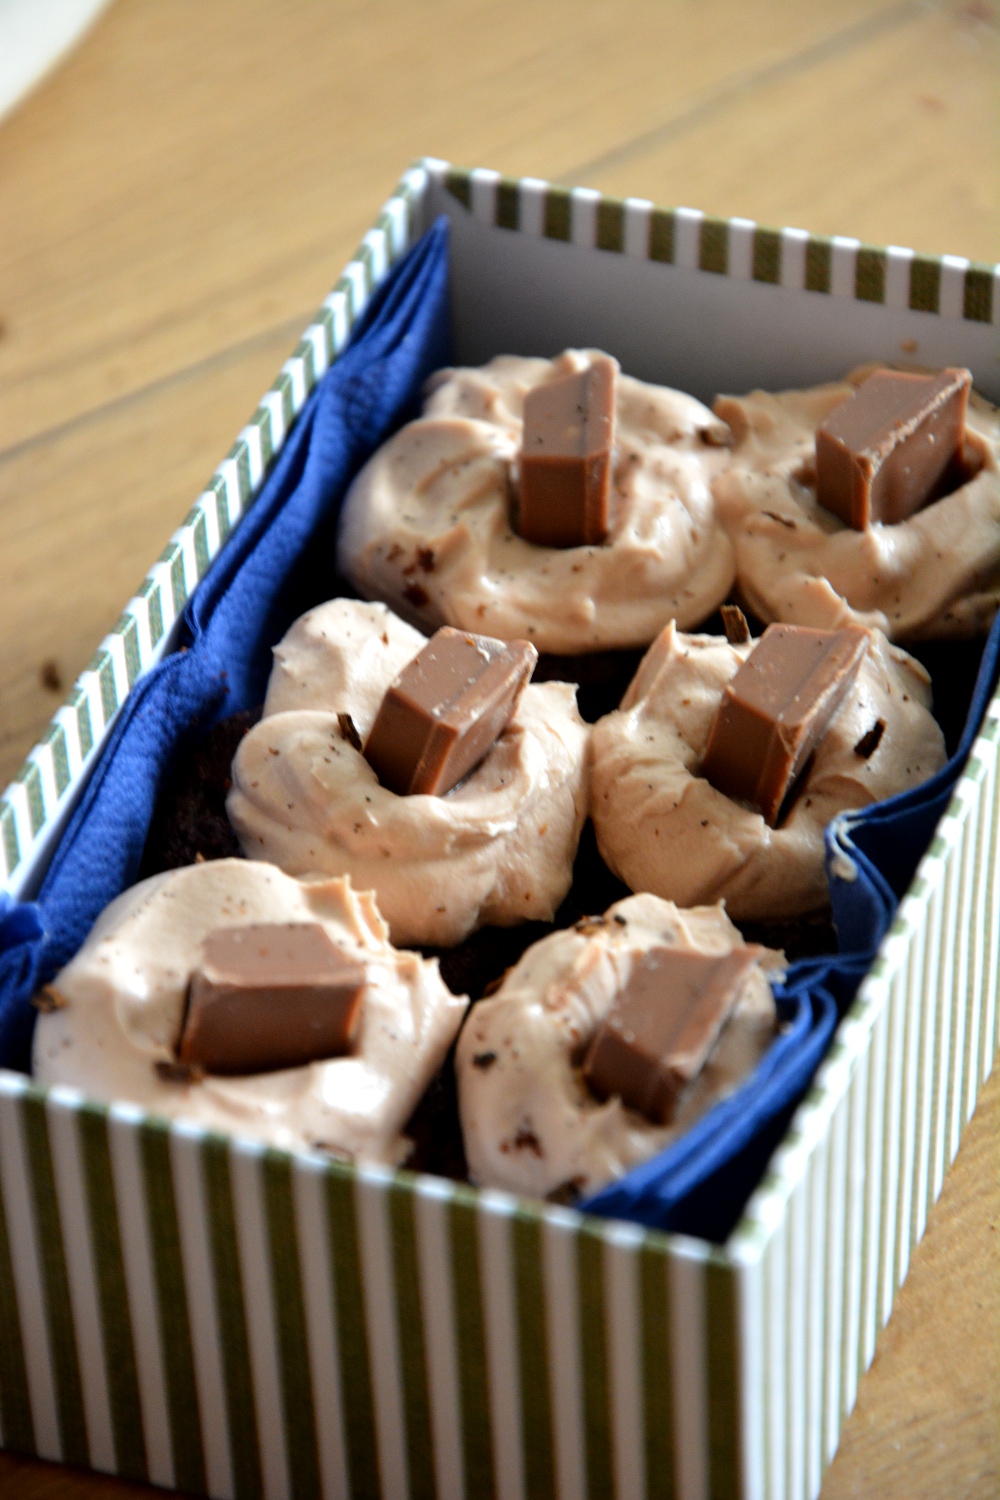
Their name sounds like a tongue twister if you say it out loud and if you repeat it quite a few times, it will blow your mind, just like their taste. Putting kitkat pieces in brownie batter was definitely not my worst idea.
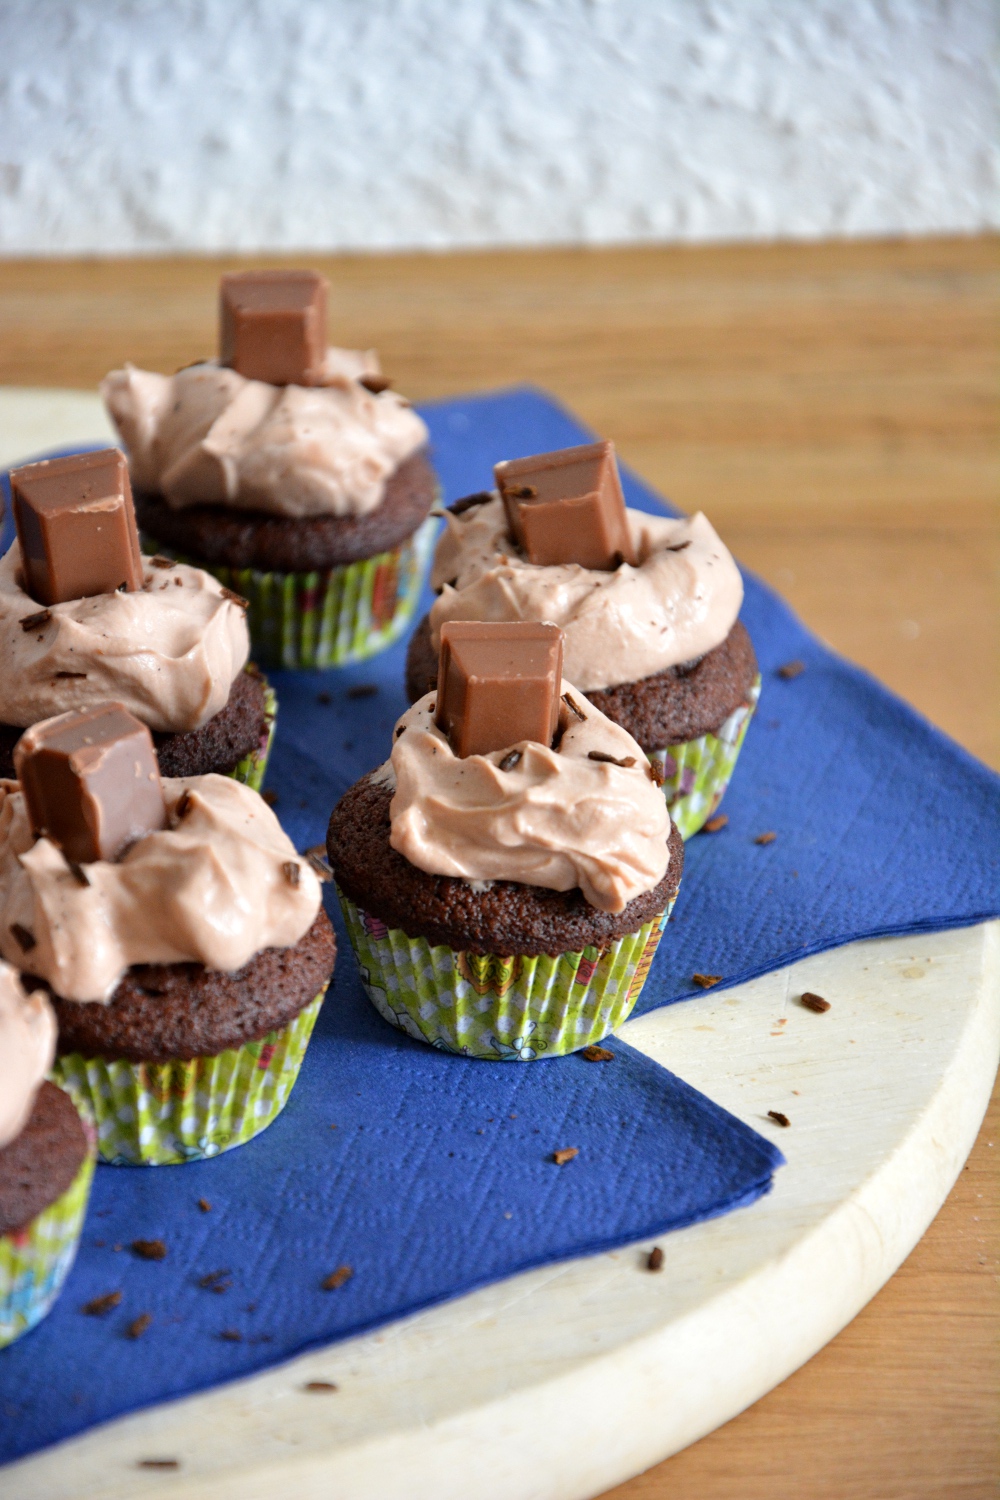
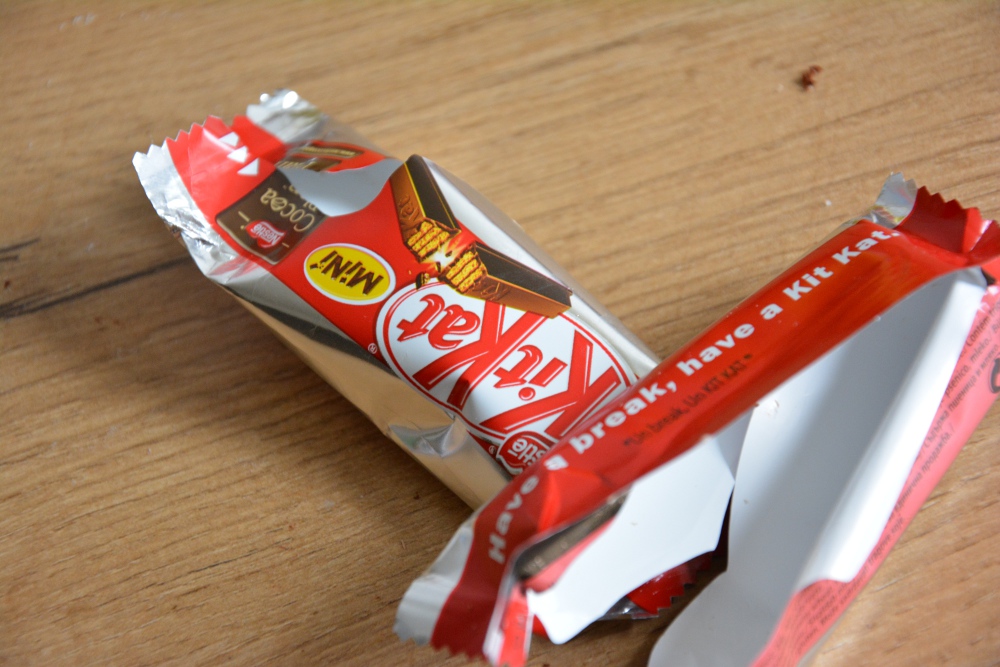
To top the whole thing and underline the hazelnut taste in the candy bar, I put some whipped cream with nutella on top. The Kit-kat piece stuck in the cupcake is just one ore feature to make the delight more intense. So if you have a good friend whose birthday is near or if you just crave something both creamy and chocolatey, you might very well consider this recipe.
Kit-kat Cupcakes
(makes about 30 cupcakes)
225 g (2 sticks) butter
300 g (1 1/3 cup) sugar
2 tsp vanilla extract
4 eggs
85 g (3/4 cup) dark cocoa powder
120 g (1 cup) flour
1/2 tsp baking powder
1/4 tsp salt
8 mini Kit-kat bars
Topping:
250 ml heavy cream
2 heaped tbsp nutella or any other nougat cream
5 mini Kit-kat bars
Preheat oven to 175°C (350°F). Cut the Kit-kat bars into chunks and set them aside.
Melt the butter in a microwave. Combine with sugar. Add the eggs one at a time and stir in vanilla. Sift together all dry ingredients and stir them in. At the end, put in the Kit-kat chunks. Line a muffin mold with cups and fill with dough up to 2/3. After about 18 minutes you will have cute mini cupcakes waiting for decoration. Let them babies cool properly.
Beat the heavy cream until stiff and finally stir in the nutella. Place about 1 tsp of topping on each mini cupcake.
Now cut each Kit-kat single bar into half and stick the halves inside the cupcakes, so they stand upright.
Et voilà, adorable sweetness.

I am so glad my bf got me a gorgeous ice cream maker for Christmas, because I adore ice cream.
I love frozen yoghurt.
I love sorbet.
I love soft ice cream.
Ice cream in a cone.
In a bowl.
A big melba.
Just every kind of ice cream (except mint).
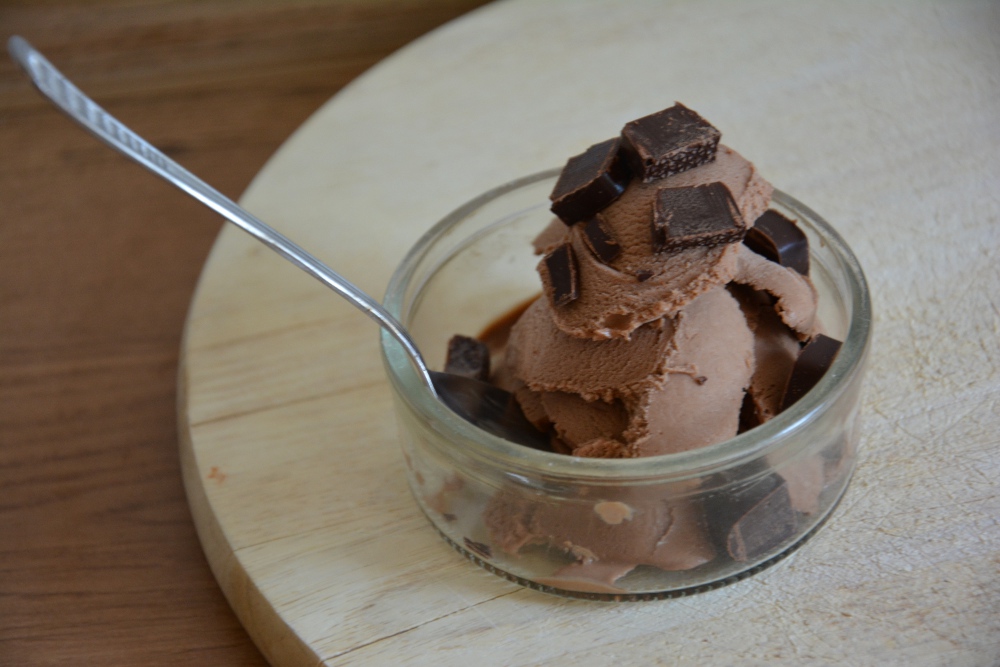
It feels just right to make my own one with the machine and it is pretty easy, if you ask me.
You can just toss the ingredients together an freeze them or make a deluxe version with egg yolks (this is the kind that takes more time – but believe me that it is absolutely worth the stress).
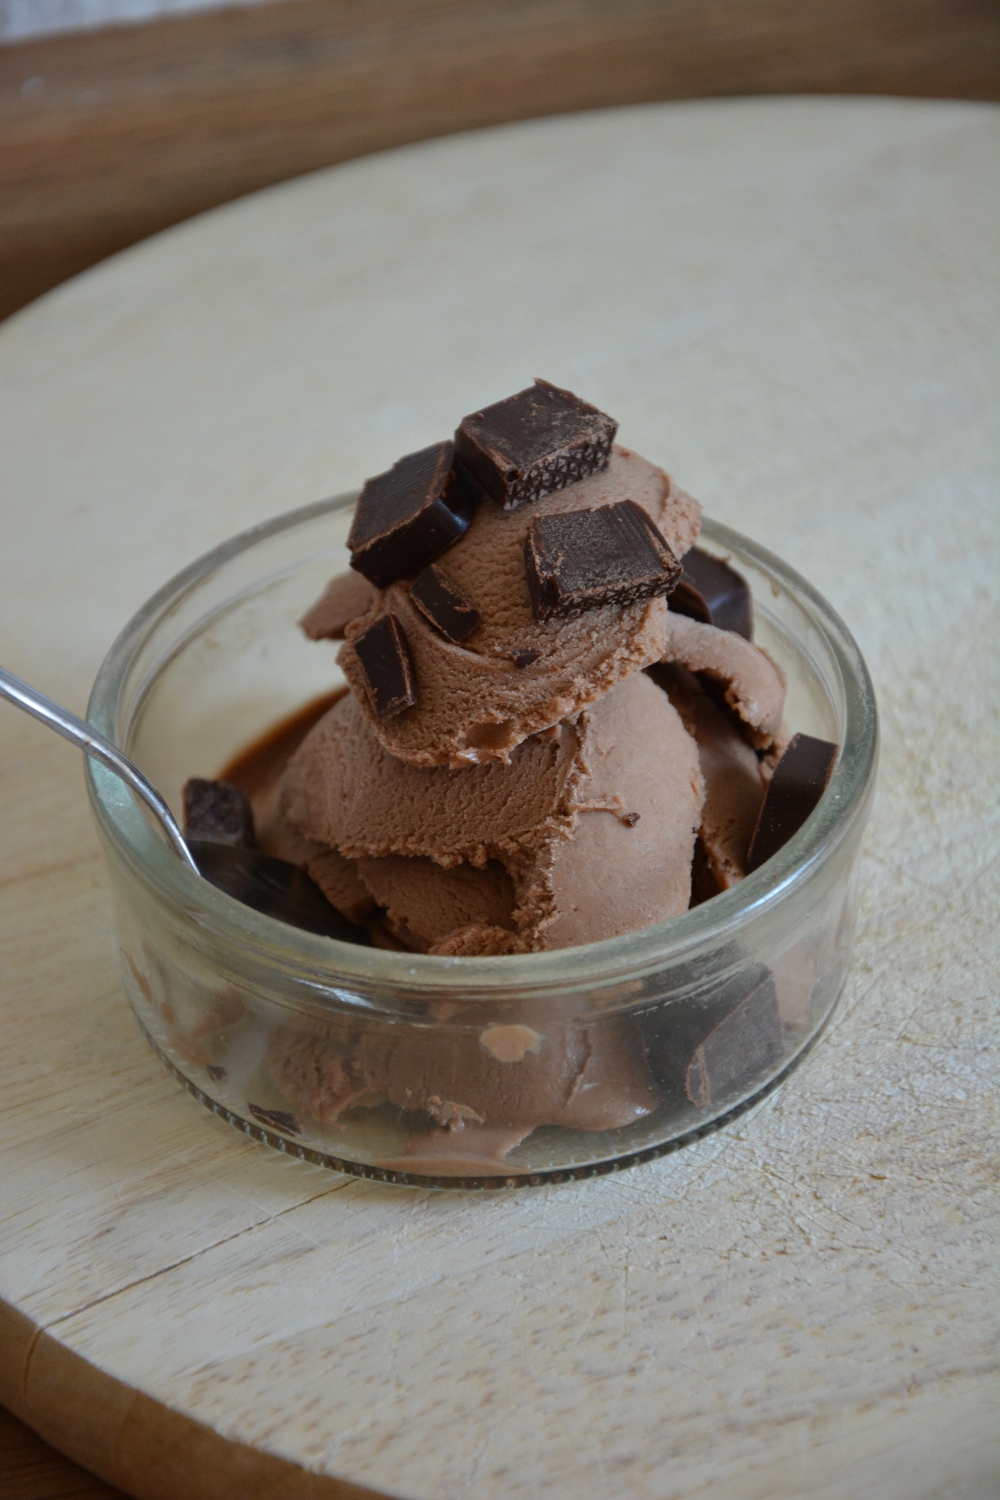
This recipe is based on the basic ice cream recipe that I found in the gadget’s manual. It worked pretty good, I just added the molten chocolate toffee to the mass.
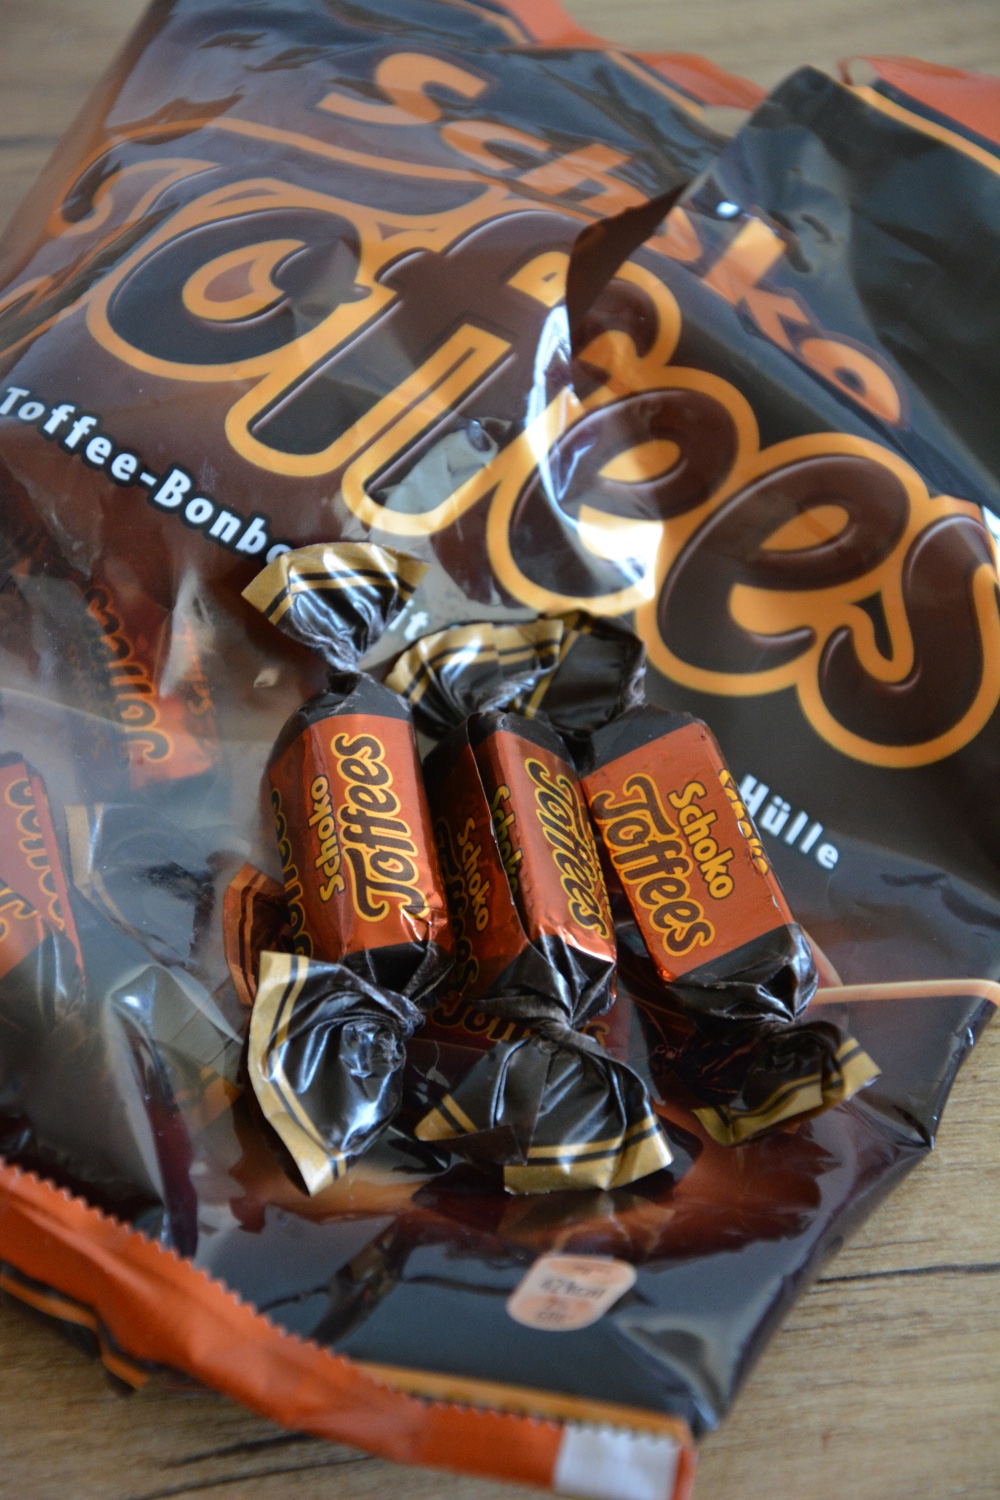
Chocolate Toffee Ice Cream
(makes about 750 ml/3 cups)
2 egg yolks
1 tbsp corn starch
100 g (1/2 cup – 1 tbsp) sugar
250 g (8 oz.) chocolate toffee
350 ml (1 2/3 cup) milk
150 ml (2/3 cup) heavy cream
Prepare your ice cream maker. I had to put my bowl in the freezer for 24 hours before I could get started. Be sue sou have this prepared.
Place the egg yolks, corn starch and sugar in a bowl. Whisk by hand or with a mixer until the mass thickens and turns pale (abour 90 seconds) .
Melt the unwrapped chocolate toffee in the microwave, heating it for no more than 30 seconds at a time. Stir before you place the bowl in the microwave for another 30 s. Set the dish aside.
Combine the milk and cream in a medium saucepan and heat until the liquid starts to boil. Remove from heat. Start stirring the egg yolk mass and gently incorporate the hot dairy mixture.
When you have poured in all the milk and cream, add the molten toffee and let it dissolve.
Now pour the mass back into the saucepan and heat one more time while stirring, until the mixture thickens a bit (it should not boil).
Let it cool on the counter and then place it in the fridge for at least 12 hours. (You may not put hot ingredients in the mixing bowl of the ice cream machine.)
Now turn on the mmachine and slowly pour in the prepared ice cream mixture. You should get a nice portion of chocolatey, creamy goodness.


