
Mhhhmhhhhmhmmmhmmmhhmm… Pate à Choux filled with cream and topped with sugar glaze and funny sprinkles. This weekend’s treat turned out so cute. I must admit I had my head in the clouds at the beginning. This batter needs concentration and good timing, which I usually have, but this Friday it was different. After saving money for so long, I fonally got my NIKON D5200! Best gift to myself ever! :D
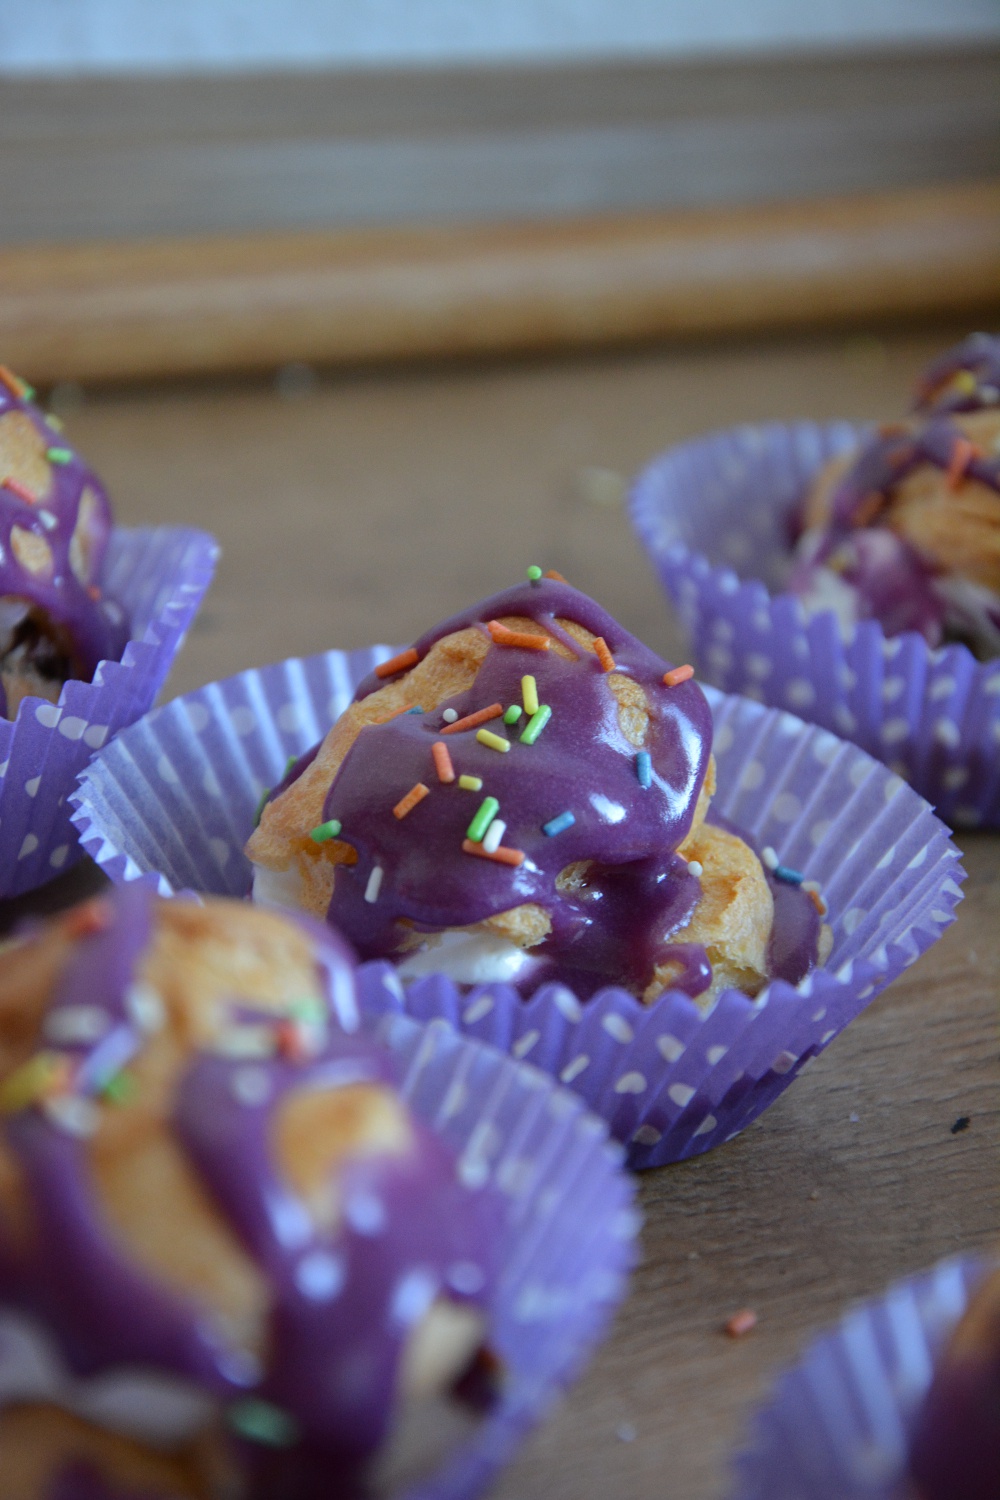
I had prepared the dought and it looked quite good, piped it onto the baking sheet and… I noticed i had forgotten the baking powder. Oh crap. Scraped down all the heaps of dough into a bowl again and stirred in the powder. Shame on me.
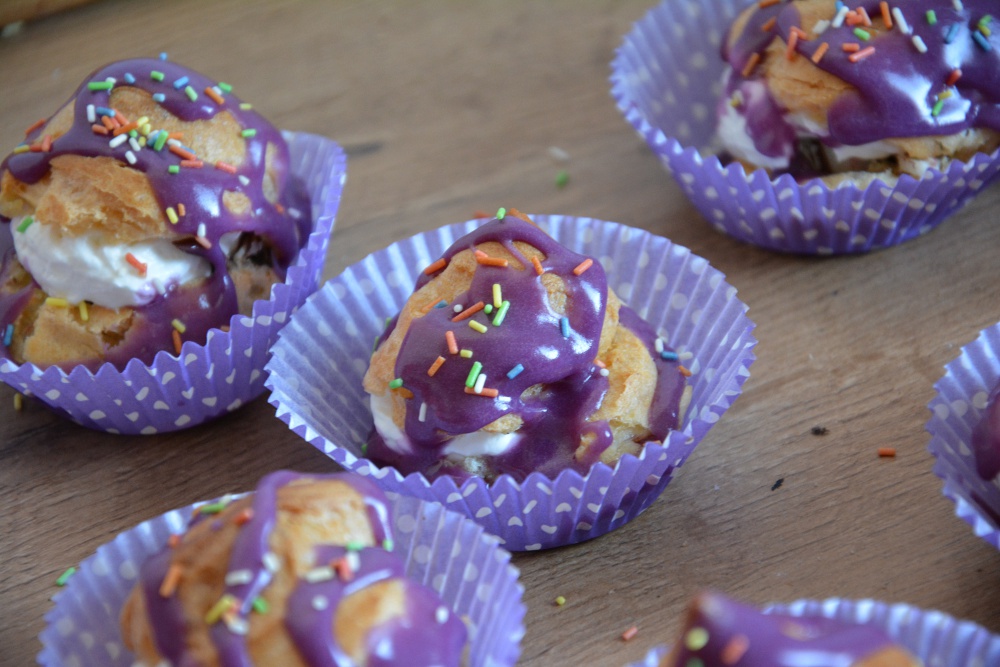
Nevertheless, it turned out quite well, they baked as they should, became so large and puffy. My brother decorated them with store-bought royal icing and put sprinkles on top. Oh yeah. I must tell, that the combination was perfect for our European tongues, the cream filling alone was not sweet enough, but the sugar glaze made it perfect. Now I can’t help but give you the recipe for these babies…
Pate à Choux
50 g (1 2/3 oz.) butter/margarine
250 ml (1 cup + 1 tbsp) water
1 pinch salt
150 g (1 1/4 cup) flour
4 large or 5 medium-sized eggs
1 tsp baking powder
Cream filling:
250 g (8 oz.) curd (40% fat)
250 ml (1 cup) heavy cream
3 tbsp powdered sugar (or to taste)
Topping:
royal icing
sprinkles
Preheat oven to 200°C (400°F).
Bring water, butter and salt to a boil in a medium saucepan. Add all the flour at once and stir with a wooden spoon until the dough forms a ball and detaches from the edges of the bowl.
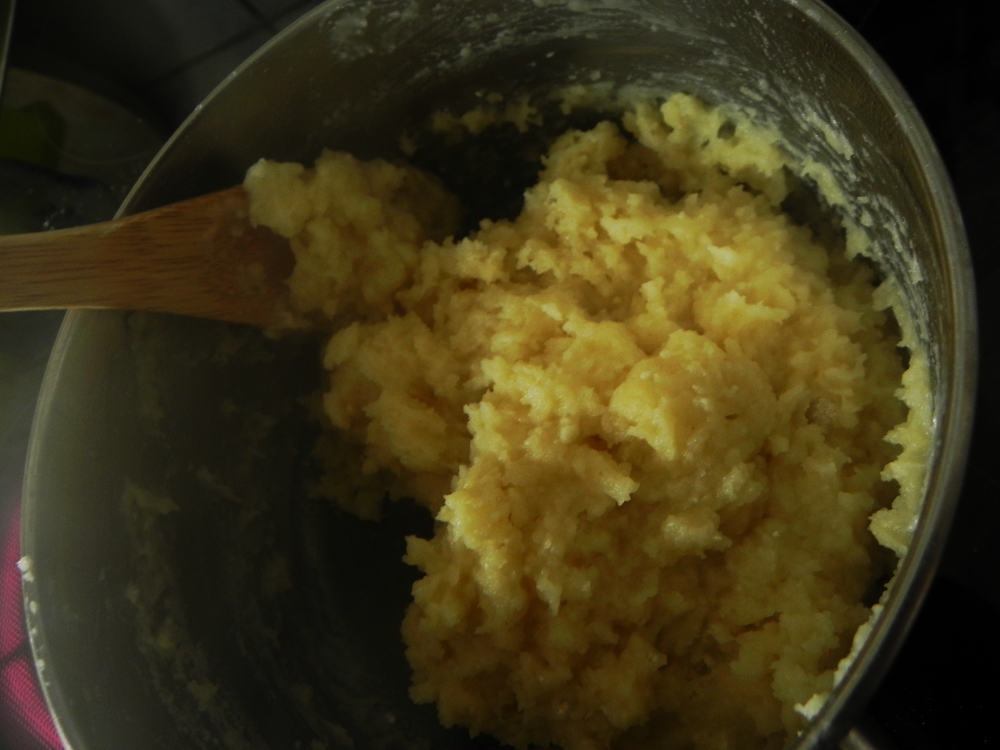
Remove the pan from heat and stir in 1 egg at once, using kneading hooks.
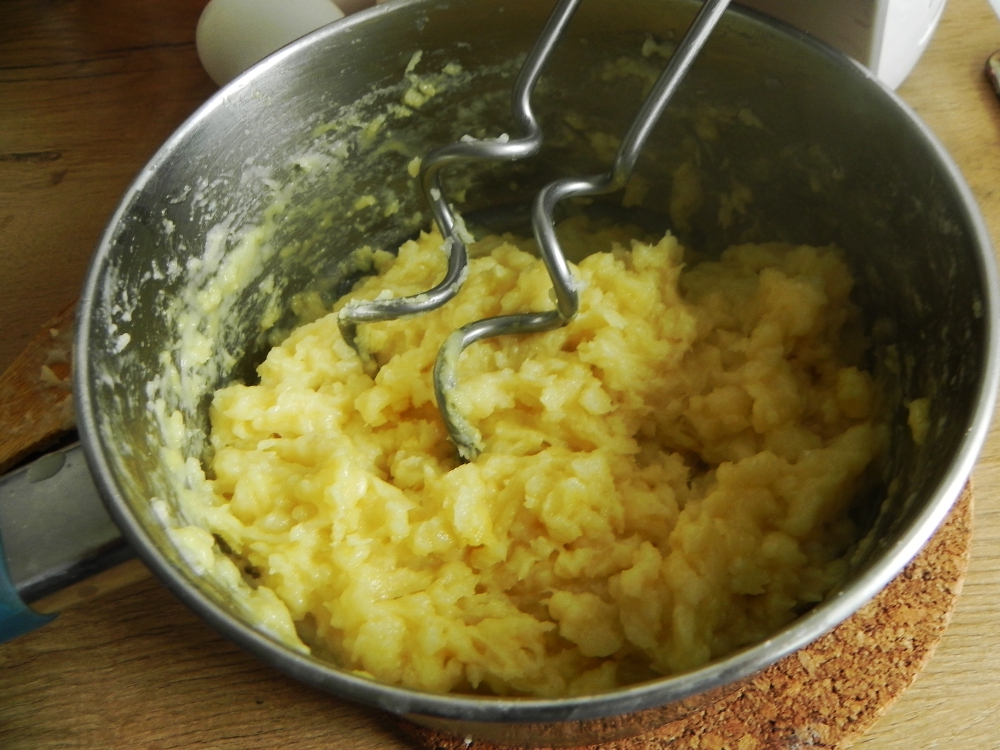
Let the dough cool for 3 minutes. Stir in one egg after the other, incorporate each one very well before you add the next one. Stir in the baking powder in the end.
Fill a piping bag (large round or star tip) with dough and pipe heaps onto a baking sheet covered with wax paper.
Bake for exactly 30 minutes. DO NOT OPEN THE OVEN TO LOOK!
Cut a hole into the lower part of the puffs and let them cool.
Beat the heavy cream until stiff, then add the curd and stir until smooth. Stir in the powdered sugar. Fill the puffs with cream using a piping bag.
Dacorate. Eat.
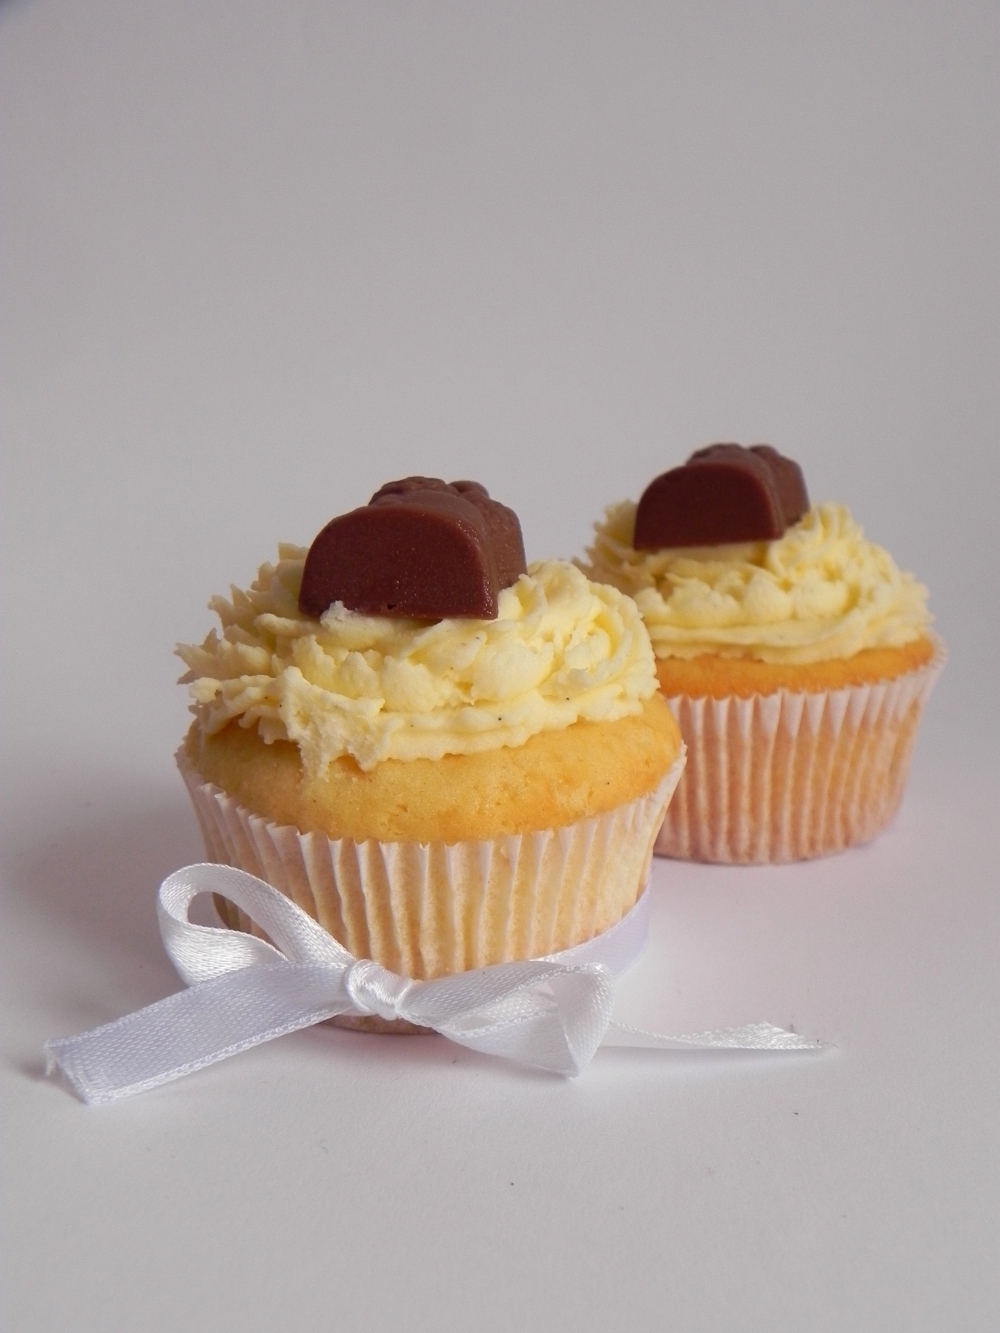
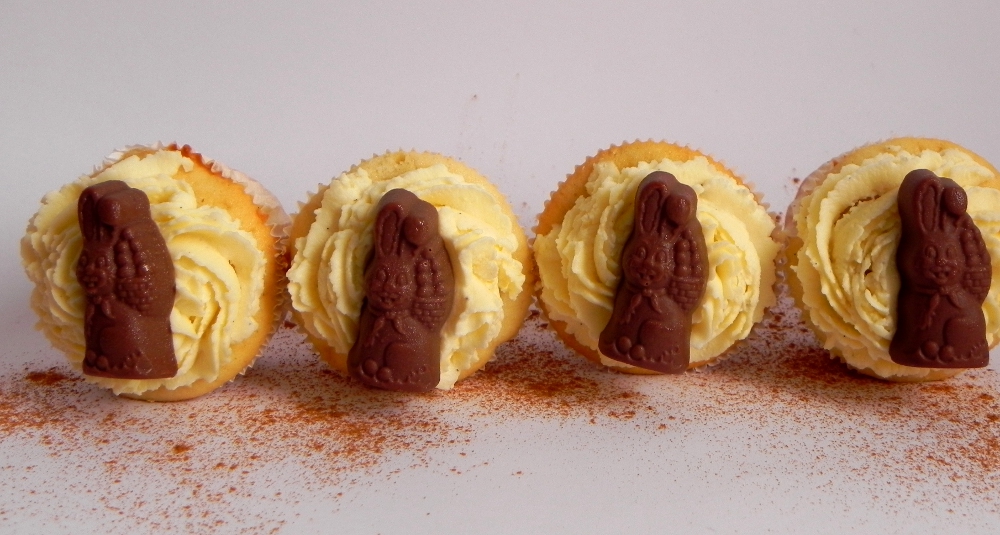
Easter time is coming soon. And soon means in this case two more weeks to go.
Let me tell you something about Easter treats. You can transform almost every sweet into a stylish dessert, fitting the occasion. Just put some chocolate bunnies on top, chocolate eggs, fresh flowers or add some yellow/pink/purple/green food colouring. Use coloured cupcake wrappers. Include fruit. It is so easy!

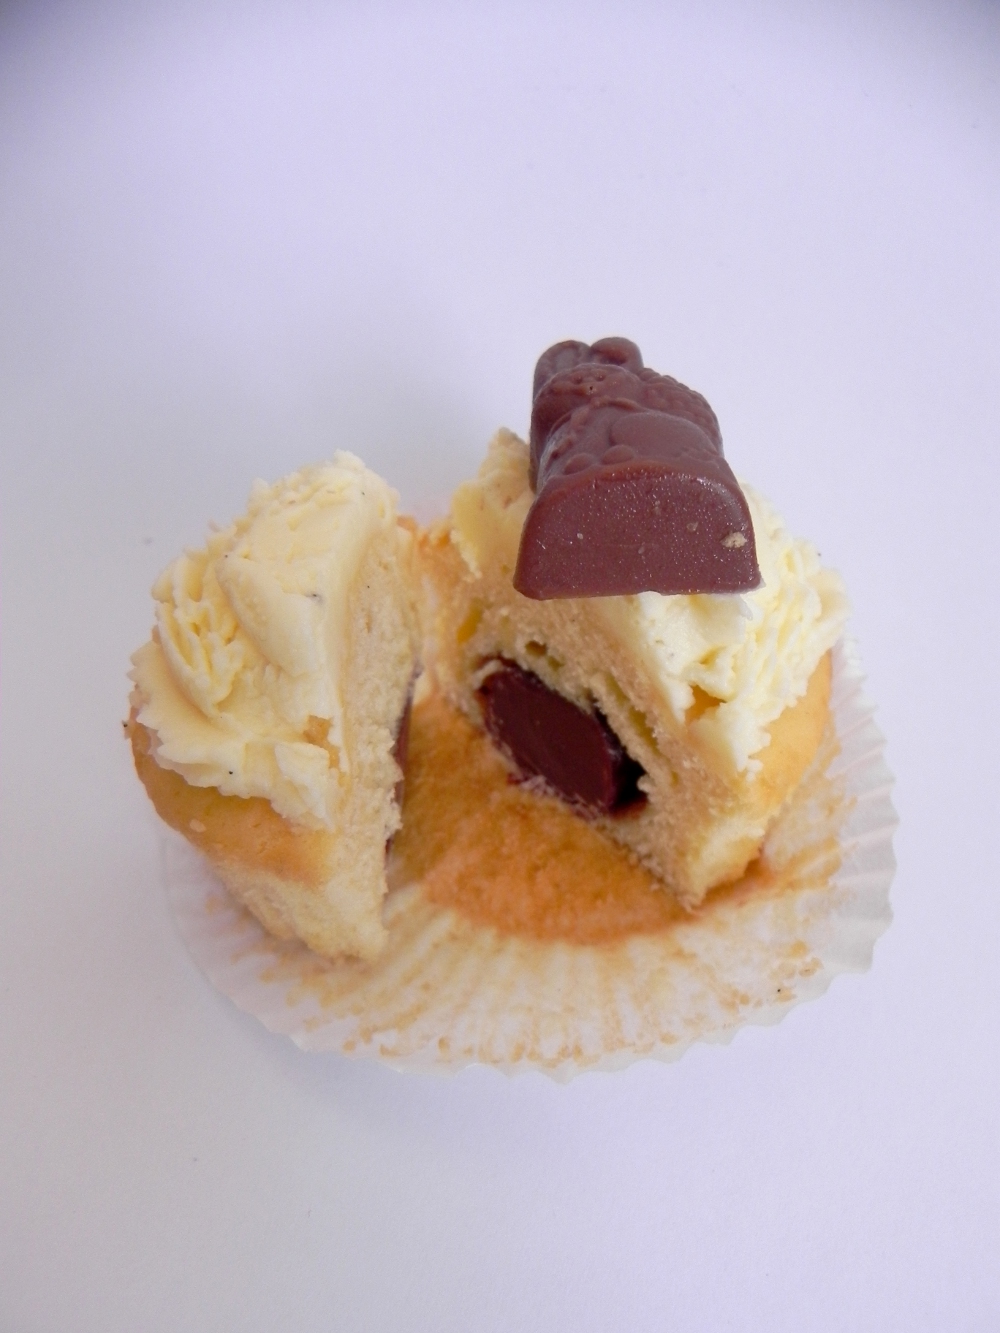
I changed my classic vanilla cupcake recipe for Easter. Looooook. As a surprise on the inside, I put chocolate eggs into the muffin mold before baking the dough. They turned out great and the cream cheese frosting on top fits the taste of the batter perfectly. Sounds delicious? Grab your mixer and preheat the oven…
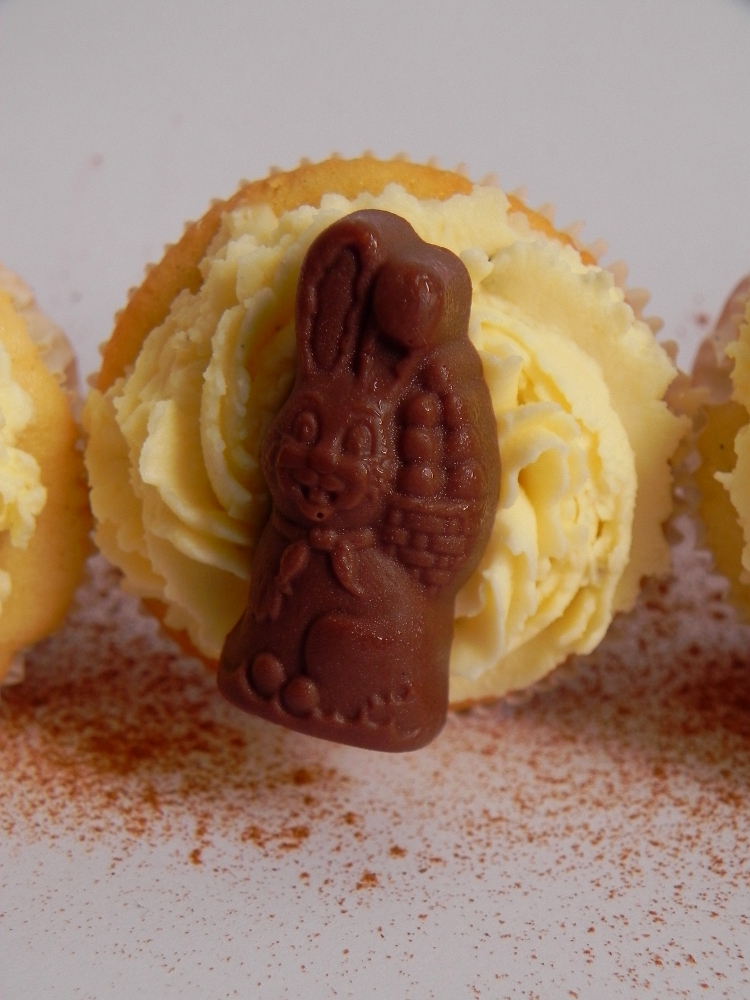
Easter Bunny Vanilla Cupcakes
(makes about 16 cupcakes)
225 g (1 5/8 cup – 8 oz) all-purpose flour
1 1/2 tsp baking powder
1/4 tsp salt
125 g (1/2 cup – 4 oz) unsalted butter, room temperature
175 g (7/8 cup – 6 oz) white sugar
2 tsp vanilla extract or seeds from 1 vanilla bean
3 large eggs, room temperature
80 ml (1/3 cup) whipping cream, room temperature
16 chocolate eggs
frosting:
75 g (1/3 cup) butter
150 g (5 oz.) cream cheese
2 tbsp powdered sugar, or to taste
Preheat the oven to 170° C (325° F). Oil a muffin pan or lay out with paper molds.
Whisk together the flour, baking powder and salt in a medium-sized bowl.Set aside until needed.
In another bowl, cream together the butter and sugar, until fluffy and white. Add vanilla. Add one egg at a time and whisk in between until fully incorporated. Now add the dry ingredients while you continue to mix. Stir in the whipping cream. Do not overbeat.
Fill the dough into the molds until they are 2/3 full. Put a chocolate egg inside each mold. Bake for about 30 minutes or until a toothpicker comes out clean. Let the muffins cool.
Melt the butter for the frosting in a microwave-safe bowl. Combine with cream cheese and sugar. Let cool in the refridgerator for 45 minutes. Pipe on top of the cupcakes and decorate with another chocolate item :)
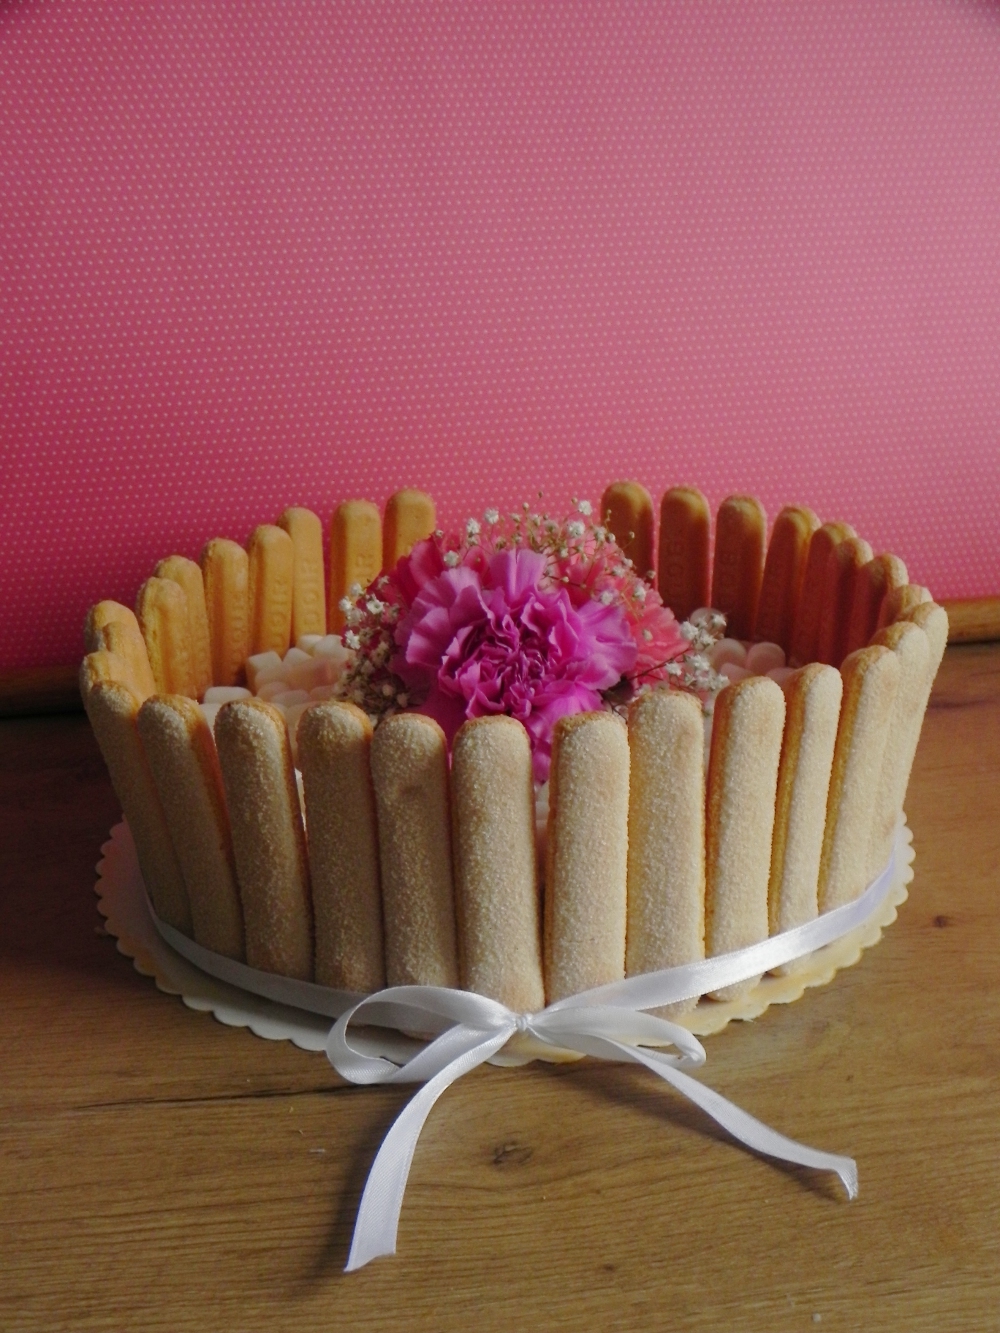
Ladies love flowers. I love them, too, although I would not say I am a real lady. But, you know, I had some cake around… it wanted the flowers so bad I gave the to it. Yep, I kinda killed my bouquet for women’s day, it was just the right thing to do.
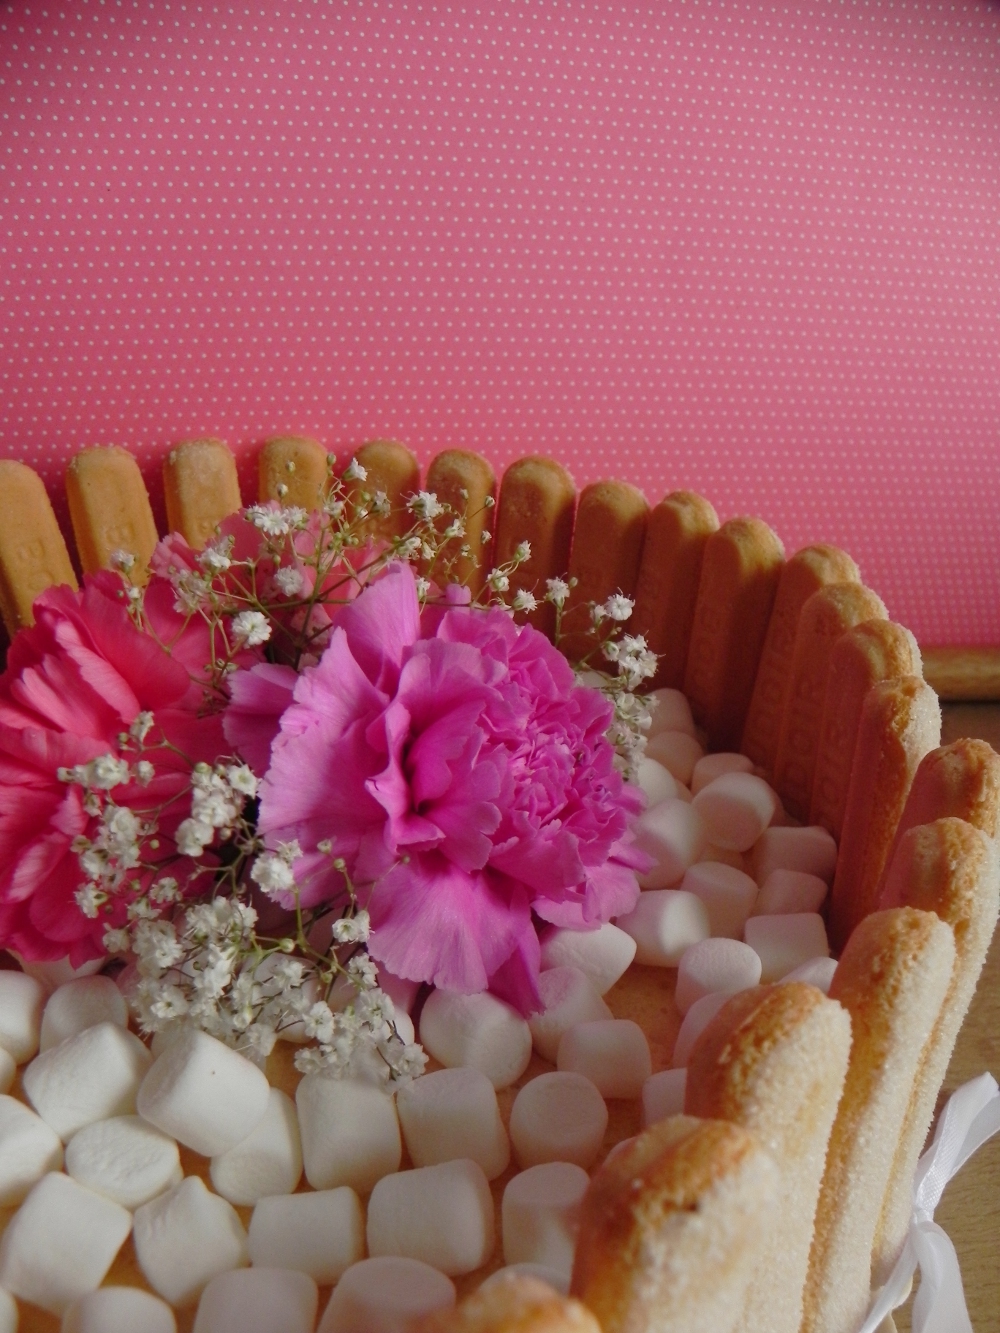
What I am talking about here is a fluffy, creamy dreamy cake with fresh strawberries. A sponge cake layer is soaked with thinned strawbery jam and a thick mascarpone and strawberry cream layer covers the moist dough.
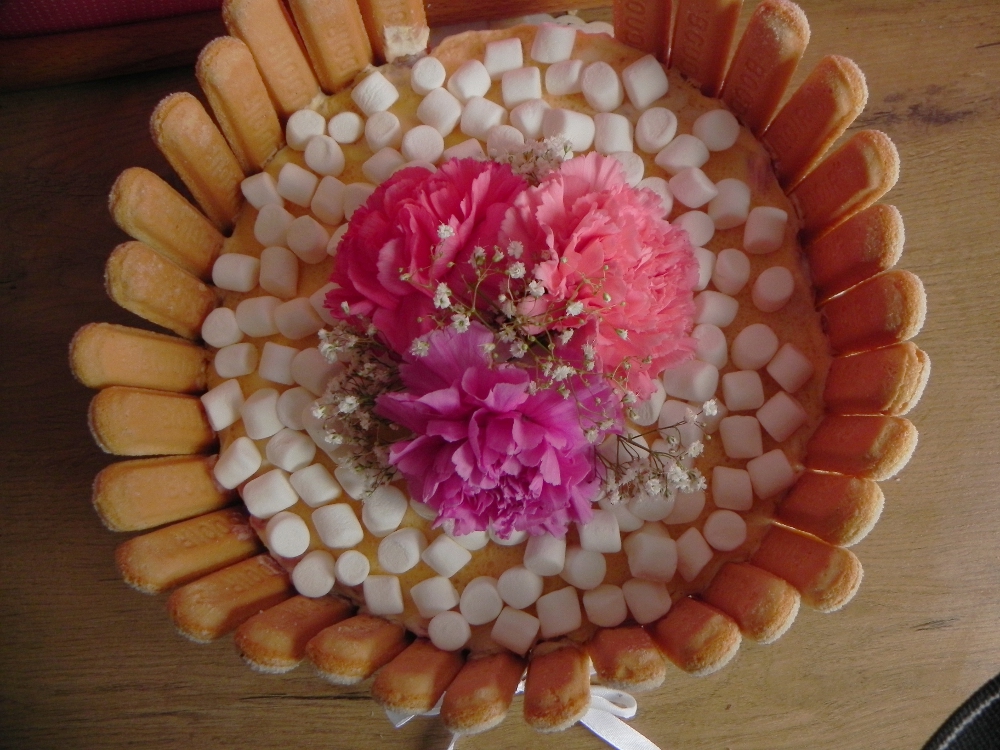
To give this beauty a special outward appearance, put a ring of ladyfingers around it and tie with ribbon. Top with fresh flowers. As this season everything is going to be about pastel colours, I these light pink ones were perfect. So cute!
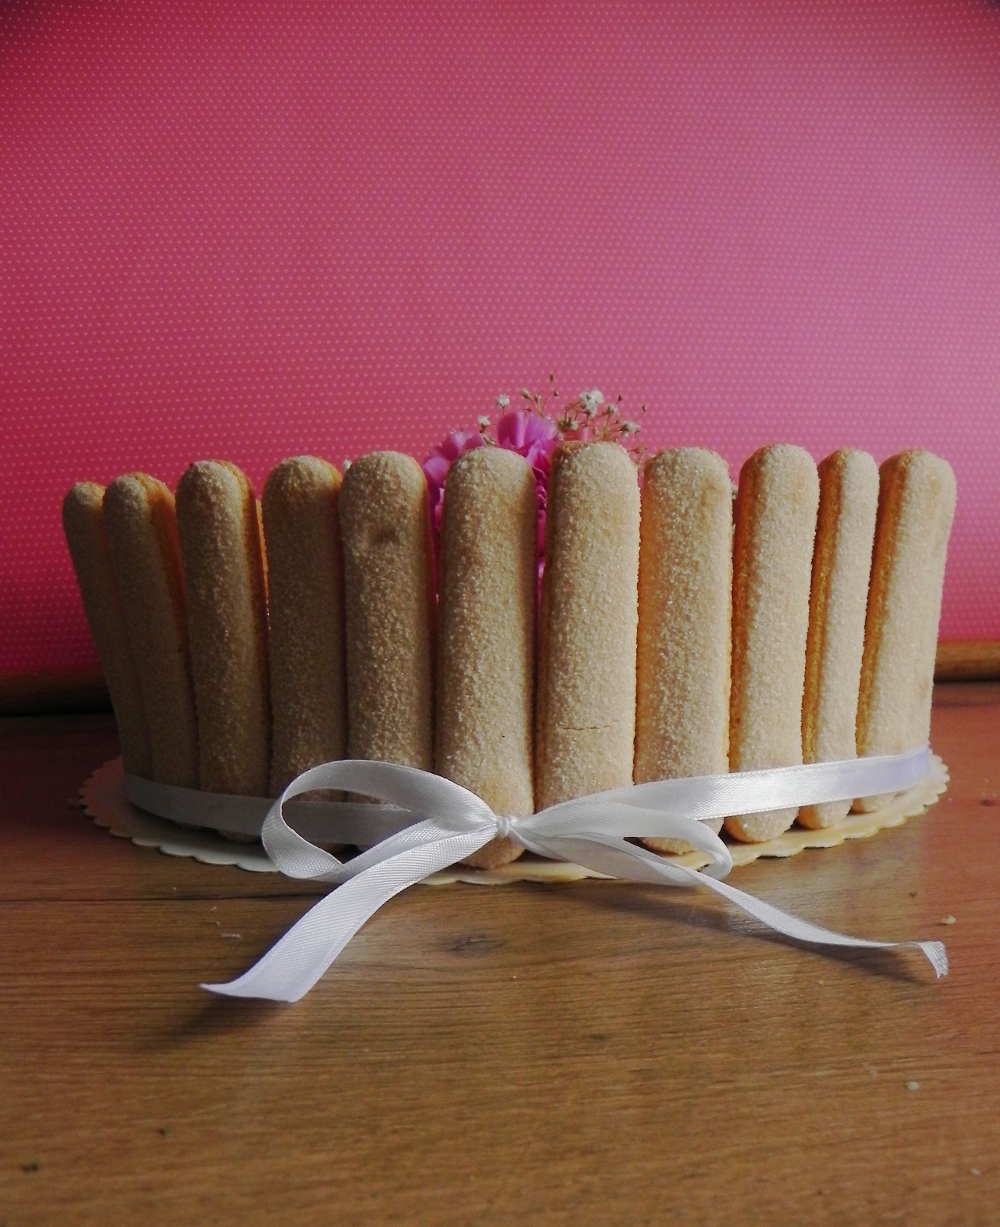
Strawberry Mascarpone Cake
(for round 10´´ pan; 12 servings)
sponge cake:
2 eggs
100g (1/2 cup) brown sugar
100g (1 cup – 1 tbsp) flour
1 tsp baking powder
1 pinch salt
2 tbsp strawberry jam
1 tbsp water
cream:
200 ml (4/5 cup) heavy cream
250 g (8 oz.) mascarpone
3 tbsp powdered sugar
300 g (10 oz.) fresh strawberries
decoration:
mini marshmallows
fresh flowers
240 g (8 oz.) ladyfingers
Preheat oven to 175°C (350°F). Cream eggs, vanilla and sugar on high speed for about 1 minute. You should be able to see lots of bubbles in the batter. Add dry ingredients and incorporate them. Oil a round 26 cm (10´´) pan and bake for about 10 minutes until a toothpicker comes out clean.
In a small bowl, combine strawberry jam and water. Stir with a whisk until the mixture is almost homogenous. Spread it all over the sponge cake with a teaspoon. This will make the cake moist.
Beat the heavy cream in a bowl on high speed until stiff. Beat in mascarpone on low speed. Add powdered sugar and incorporate shortly.
Wash strawberries and cut into small cubes. Carefully stir the fruit pieces into the cream.
Put a cake ring aroung the sponge layer and pour the cream on top. Smooth it down. Let sit for about 1 hour, then remove the ring carefully and decorate.
Now do what is good for you and have a bite.


